DIY Potion Bottles & Love Potion Label
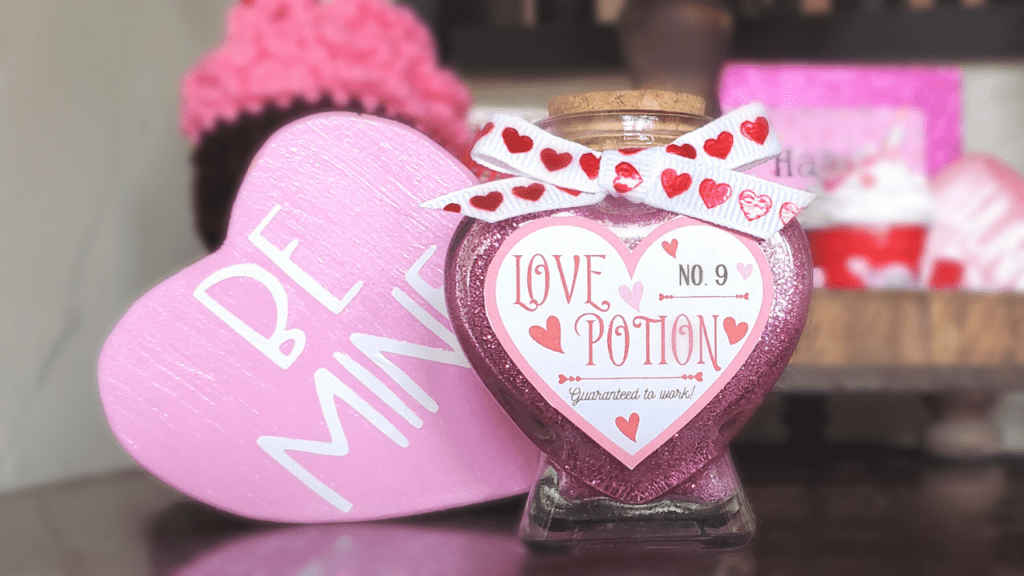
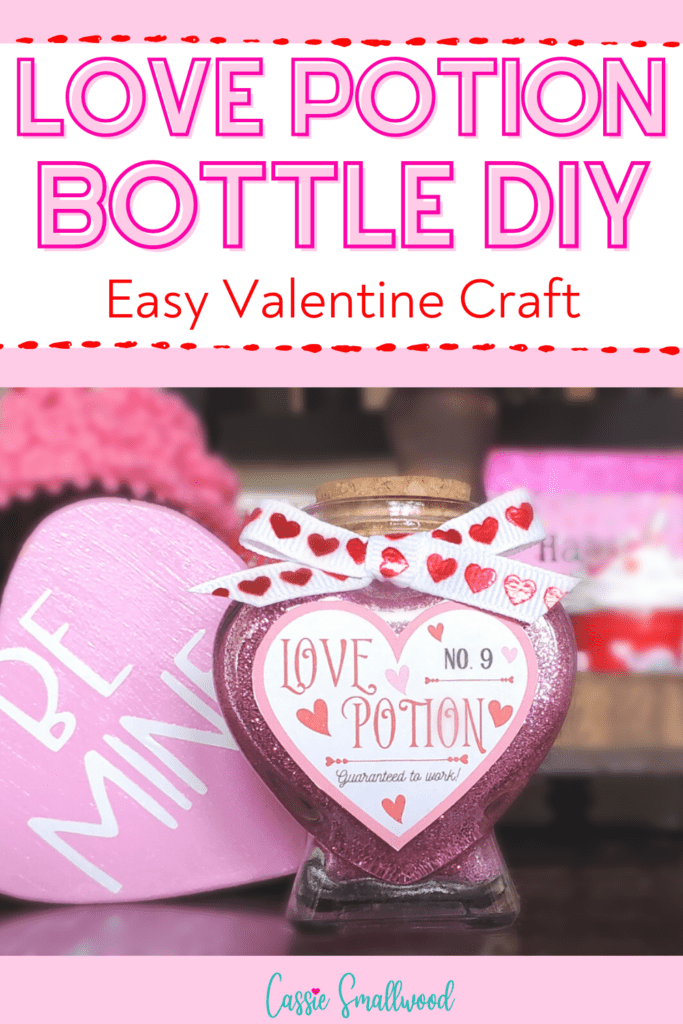
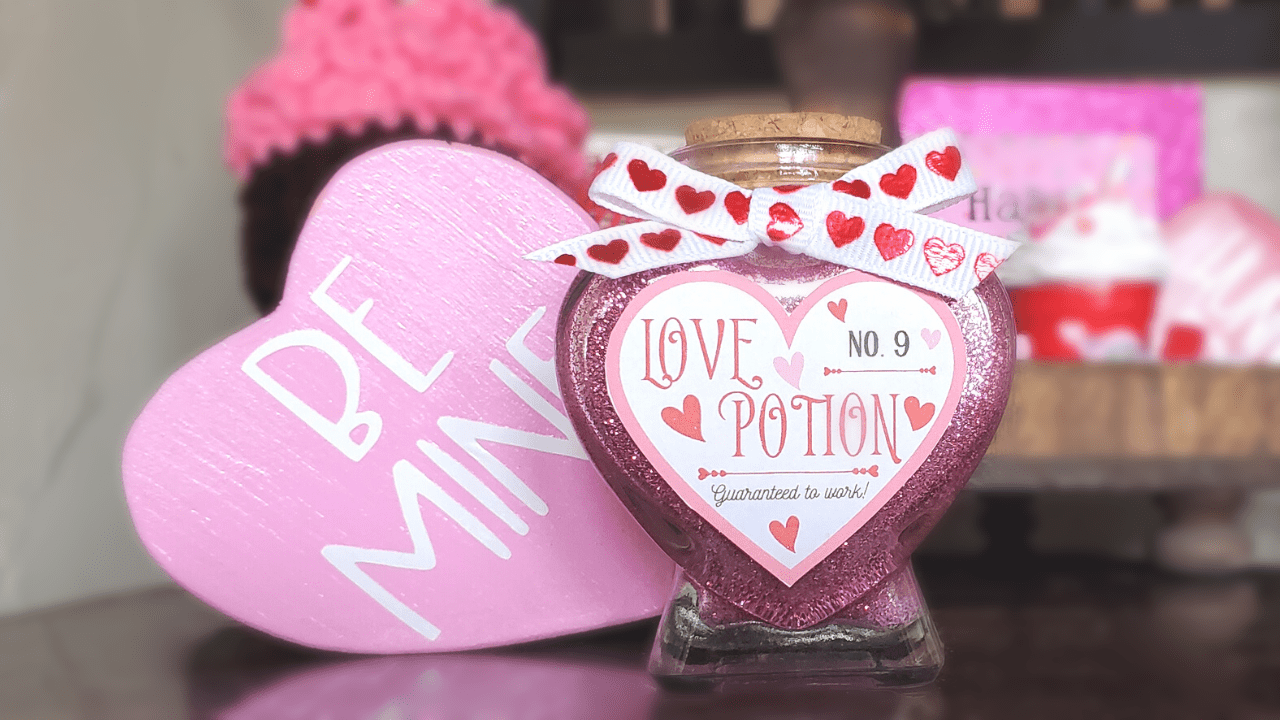
If you want to make some cute DIY potion bottles to decorate with for Valentine’s Day, I’ve got you covered with my free printable love potion labels and this tutorial to make a glitter love potion bottle.
I designed the heart love potion labels in two colors. One design is mostly red and the other design is mostly pink so you can use the one that fits your Valentine decor best. These are high resolution love potion labels.
These cute mini love potion bottles are great for Valentine tiered tray decor or as a cute little gift to give to a friend or coworker.
You can also use these DIY potion bottles as Halloween tiered tray decorations.
I also have a tutorial for these super cute Valentine mini Starbucks cups to use as Valentine tiered tray decorations or as a fun little gift for Valentine’s Day.
DON’T MISS MY OTHER VALENTINE PRINTABLES AND CRAFTS!
- FREE PRINTABLE VALENTINE BANNERS
- PRINTABLE VALENTINE GIFT TAGS
- PRINTABLE HEART CUPCAKE WRAPPERS
- FREE PRINTABLE LOVE COUPONS
- FREE PRINTABLE VALENTINE CARDS FOR KIDS
- FREE PRINTABLE VALENTINE BOOKMARKS
- FREE PRINTABLE VALENTINE WORD SEARCH
- FREE PRINTABLE VALENTINE WORD SCRAMBLE
- PRINTABLE VALENTINE TAGS
- Valentine Candy Bouquet
- Mini Fake Starbucks Cups For Valentine’s Day
- DIY Valentine Scratch Off Tickets
- DIY Valentine Gnome
This post contains affiliate links. See my disclosure here.
What You Need To Make DIY Potion Bottles
You can use any small bottle with these love potion labels, but I designed them to fit perfectly on the heart shaped bottles linked in the list below.
- Heart shaped glass bottle
- Glitter
- Mod Podge
- Water
- Paper Towel
- Love potion label
- Sticker Paper
- Ribbon
- Gorilla Super Glue
How To Make DIY Potion Bottles
Print and cut out the free printable love potion label.
Print the love potion label onto sticker paper or a shipping label and cut around the edge to make it into a love potion sticker that can easily be applied to your magic potion bottle.
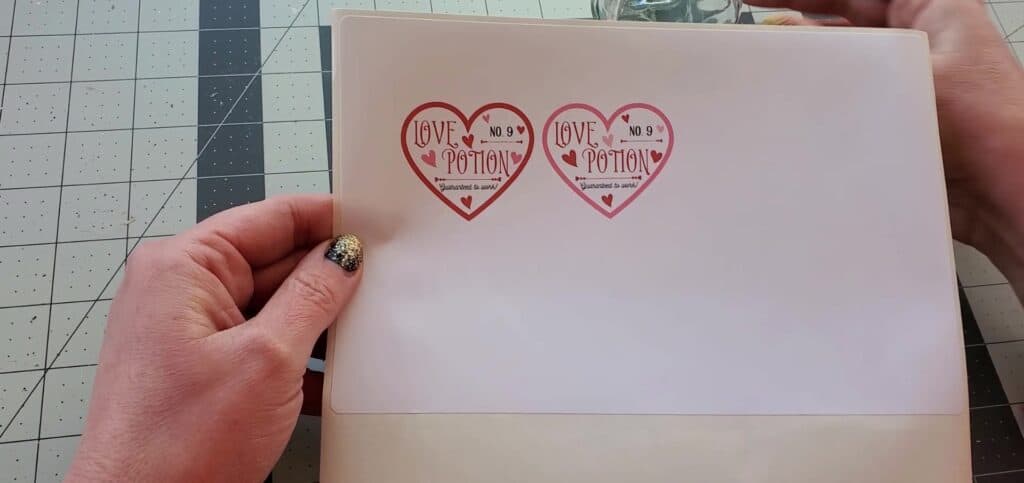
Apply the love potion label to the heart shaped glass potion bottle.
Peel the backing from the love potion label and attach it to the front of the bottle making sure it is centered and straight.

Mix a small amount of Mod Podge with a little water.
In a small cup, mix a little Mod Podge with water to make a pourable Mod Podge mixture.

Pour the Mod Podge mixture into the magic potion bottle.
Swirl around the Mod Podge to cover the entire inside of the bottle.
Coat the whole inside of the potion bottle with the Mod Podge mixture.

Pour out the excess Mod Podge.
Put the rest of the Mod Podge back into your cup getting as much excess out of the bottle as possible.
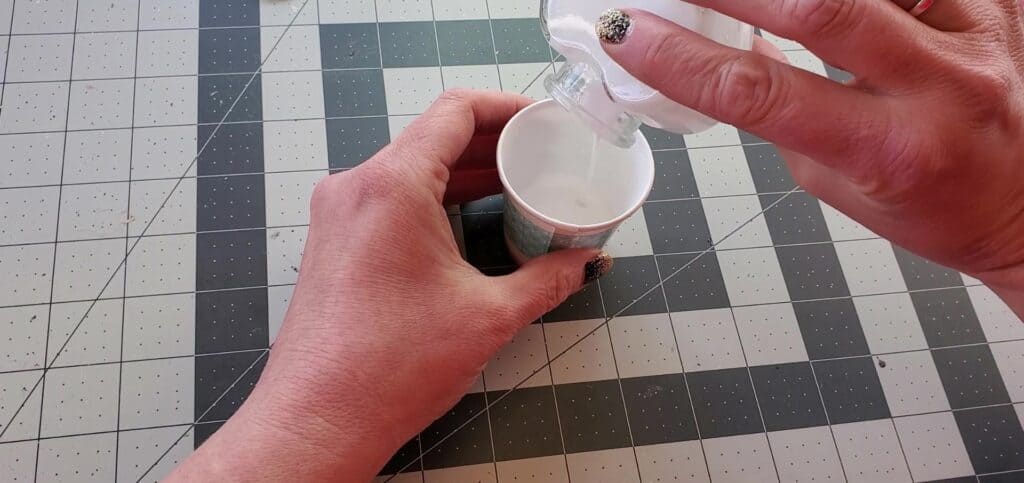
Pour glitter into the love potion bottle.
Use a large amount of glitter. You can save the excess afterward.
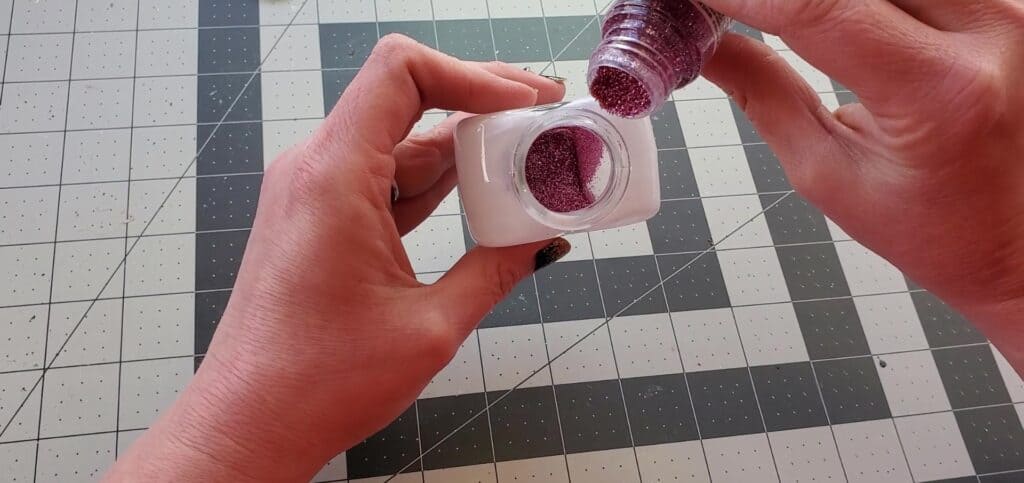
Swirl around the glitter to cover all of the Mod Podge.
Make sure the entire inside surface of the potion bottle is covered with Mod Podge and glitter.

Dump out the excess Glitter.
Pour the extra glitter onto a piece of paper and back into your glitter container.

Wipe the neck of the bottle to remove Mod Podge and glitter.
Remove any glitter and Mod Podge that are on the inside of the neck of the bottle where the cork fits in.
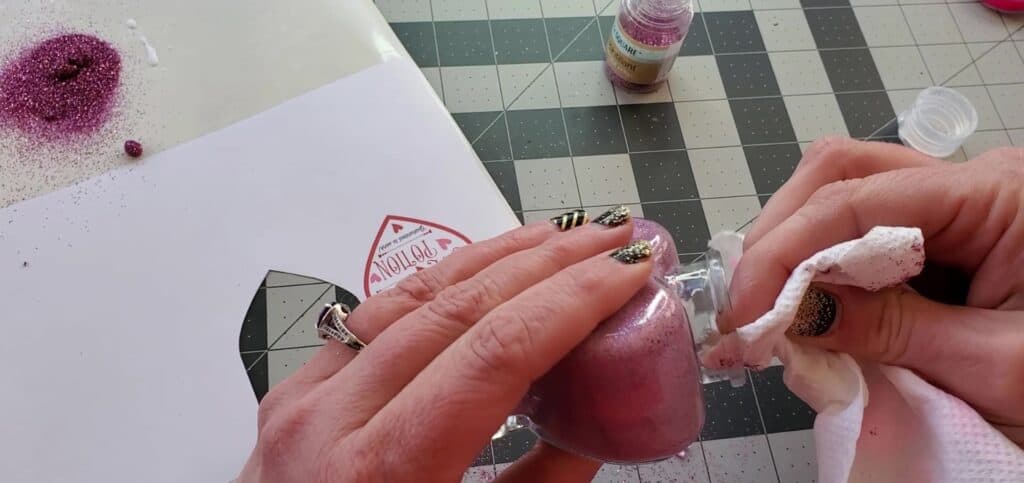
Tie a bow with the ribbon and attach to the front of the bottle.
I like to use Gorilla super glue gel for this because most other glue will not hold on glass permanently. As an alternative, you can also tie the ribbon around the neck of the bottle.
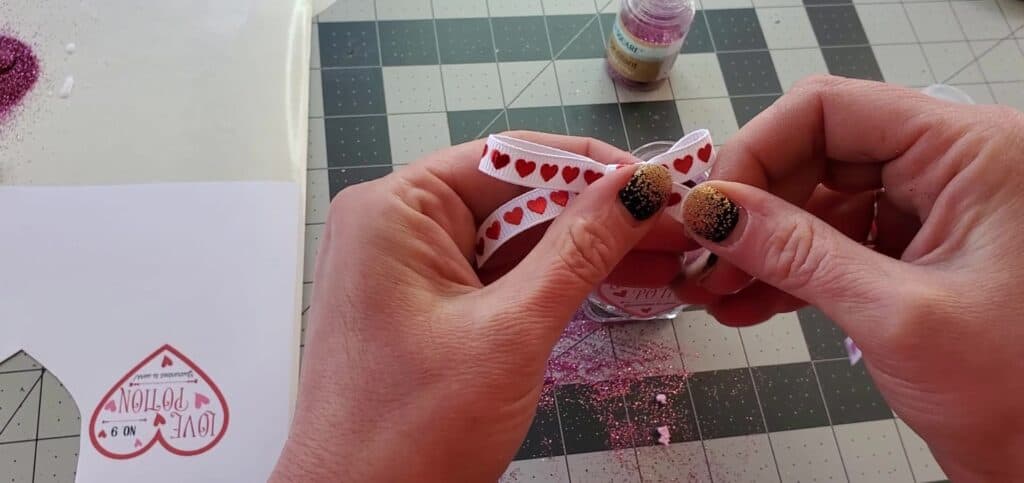
Allow to dry before replacing the cork.
This may need to dry for several hours or overnight. You’ll see the cloudiness of the Mod Podge turn clear and your glitter’s true color start to show. When you can see your glitter completely is when it is dry.
DOWNLOAD THE LOVE POTION LABEL HERE.
You might also like these Valentine free printables
