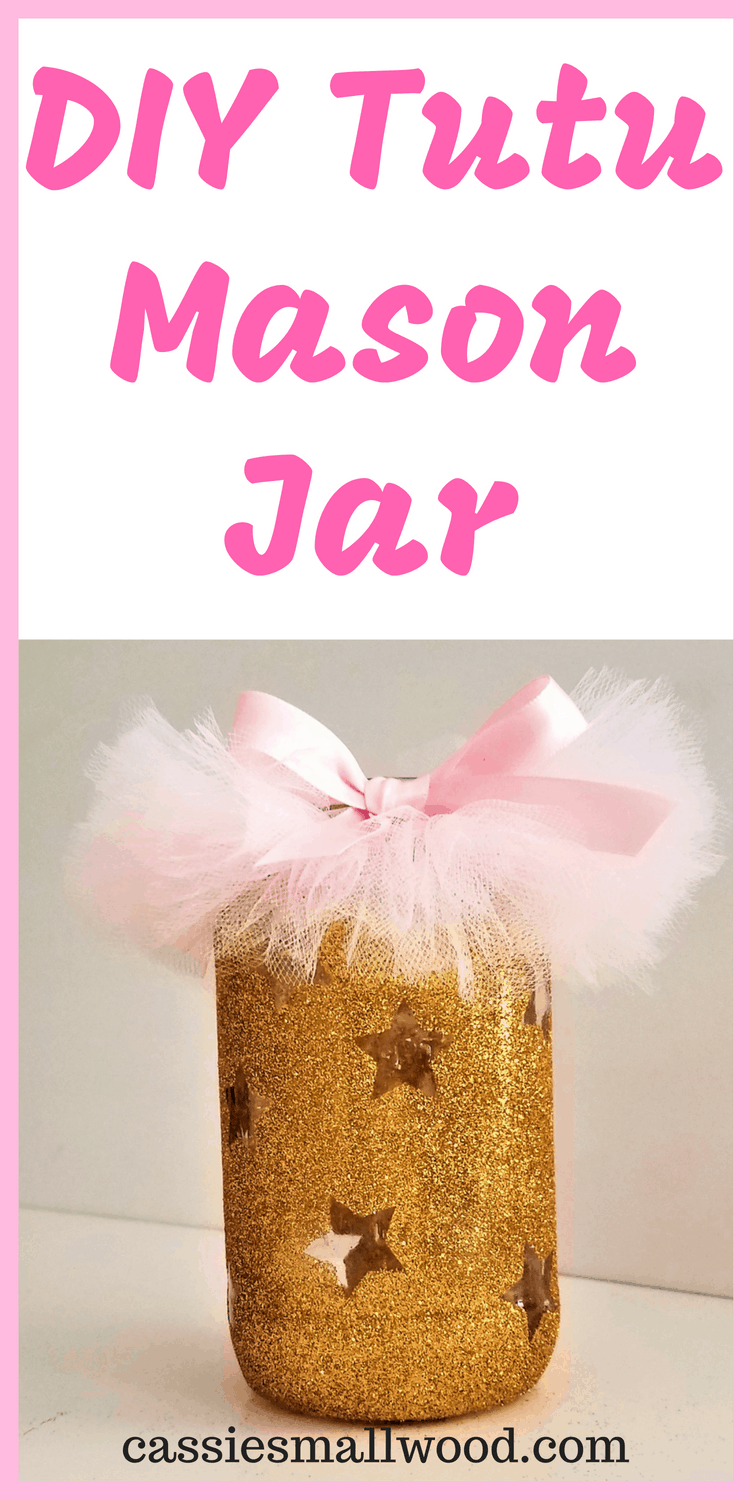
Twinkle Twinkle Little Star Party DIY Mason Jars
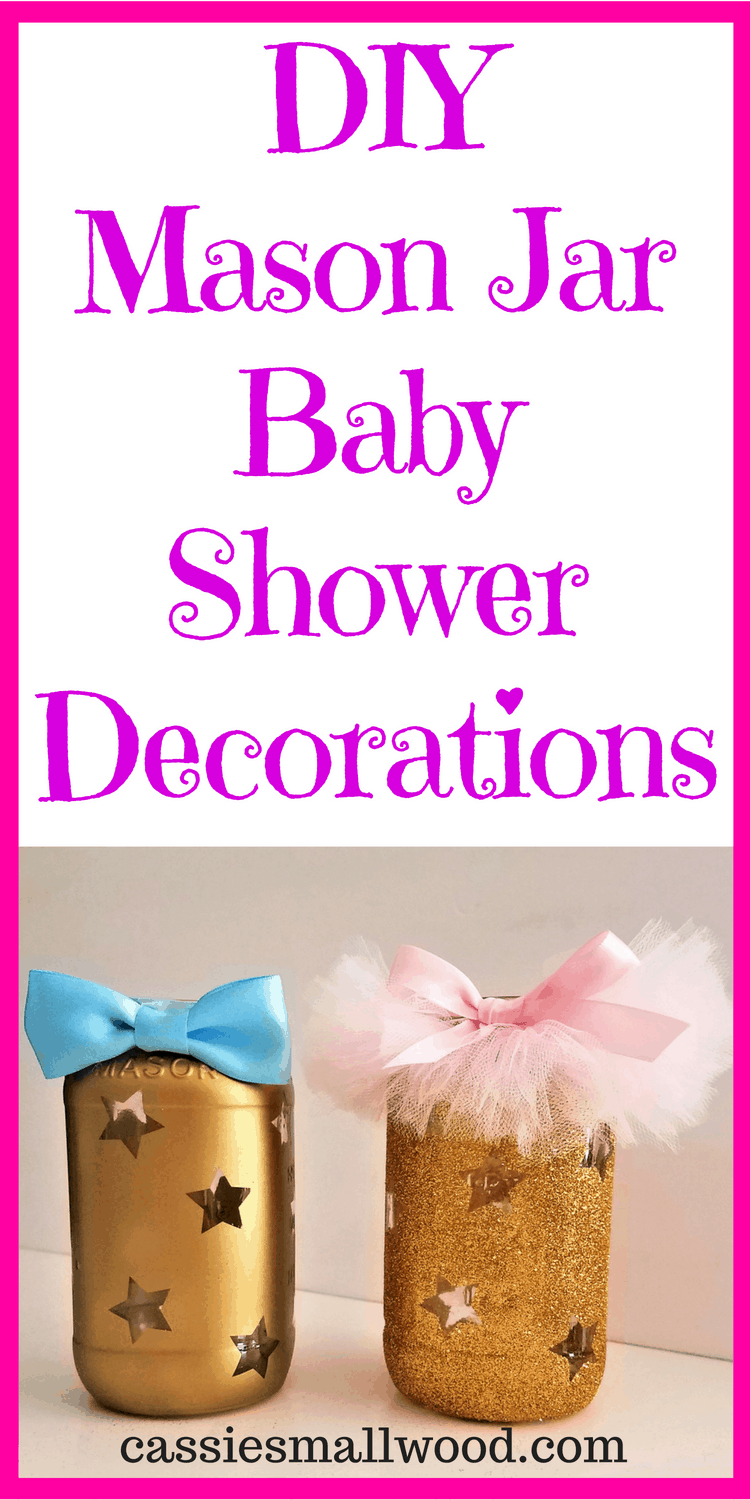
Since Twinkle Twinkle Little Star has become a popular party theme recently, I wanted to share a little star mason jar project that is great to go with the Twinkle Twinkle Little Star party theme and can be used as a centerpiece, candle holder, or a baby room decoration.
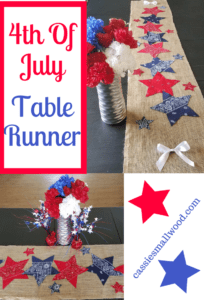
And my no sew star table runner is always a big hit for parties.
This project is one I’ve made for the DIY Blog Challenge where we pick something to use each month to create something beautiful. This month we chose jars. Be sure to see what my friends Lianne and Denise made at the end of the post! Now let’s get started on how to make these Twinkle Twinkle Little Star Party DIY Mason Jars.
Here’s what you’ll need for the Tutu Twinkle Twinkle Little Star Party DIY Mason Jar:
This post contains affiliate links which means I get a small commission at no additional cost to you when you click on my link and buy. Thank you for supporting my blog so I can keep making fun DIY projects for you! See my full disclosure here.
- Mason jars
 (the smooth ones work best for this project)
 - Pink tulle 6″ spool
- 5/8″ light pink ribbon
- Hot Glue
- Hot glue gun (this is my favorite glue gun because it stands up perfectly and prevents glue drips)
- Extra fine gold glitter (extra fine works best to get the definition of the stars)
- Spray sealer (I love this one because it dried in only 5 to 10 minutes)
- Star Decals (I highly recommend using vinyl stickers/decals. Paper stickers will get stuck to the glass and be difficult to remove. I used 1 inch vinyl star decals that I cut with my Cricut)
Here’s how to make your Tutu Twinkle Twinkle Little Star Party DIY Mason Jar:
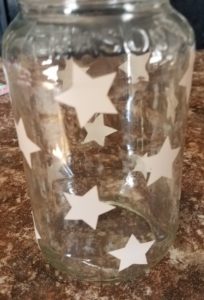
- Place the star stickers randomly on the mason jar. Be sure to change the angle of each one to get a more random pattern.
Randomly place stickers on the jar. - Spray the jar on one side with sealer and sprinkle glitter on to cover. Continue with the other sides of the jar. You probably won’t get full coverage with this coat. So don’t worry if there are spots you can see through.
- Allow to dry for 5 to 10 minutes.
- Spray a 2nd coat of sealer and sprinkle glitter. This coat should create a solid layer. If you have any bare spots, spray a bit more sealer and sprinkle more glitter on.
- Allow to dry for 5 to 10 minutes.
- Tap the jar to knock off excess glitter.
- Spray with sealer to seal the glitter and prevent it from shedding.
- Allow to dry completely.
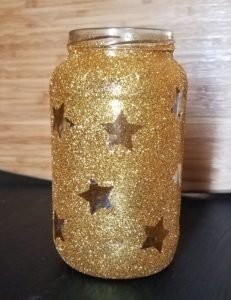
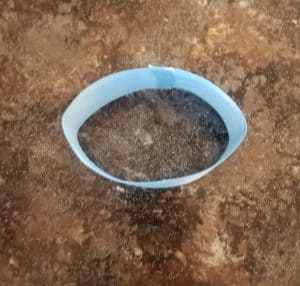
- Remove the star stickers to reveal the glass underneath. If you have problems finding where the stars are, hold the jar up to a light or look into the inside of the jar to see where they are. Use your fingernail, a toothpick or needle to get the sticker loose.
Jar after removing the stickers. - Measure a length of ribbon that will wrap around the mouth of your jar plus a little extra. You’ll be tying this in a knot later. So leave enough extra that you will be able to do that.
- Cut approximately 5 inch strips of tulle. You’ll probably need about 50 strips.
- Lay out your ribbon.
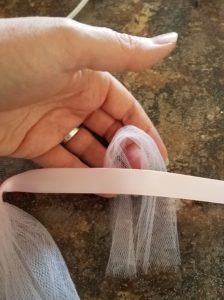
- Make a loop with the tulle and place it behind the ribbon. Pull the tails through the loop and pull tight. Slide each one up to the previous
Make a loop and pull the tails through to create the tutu. one.
- Continue with the loops of tulle until you have enough of the ribbon covered to go all the way around the jar mouth.
- Tie the ribbon in a knot around the mouth of the jar. You should have a tutu.
- Cut a length of ribbon and tie a bow.
- Trim the tulle to even it up for a nice full tutu.
- Hot glue the bow on the front of the jar above the tutu.
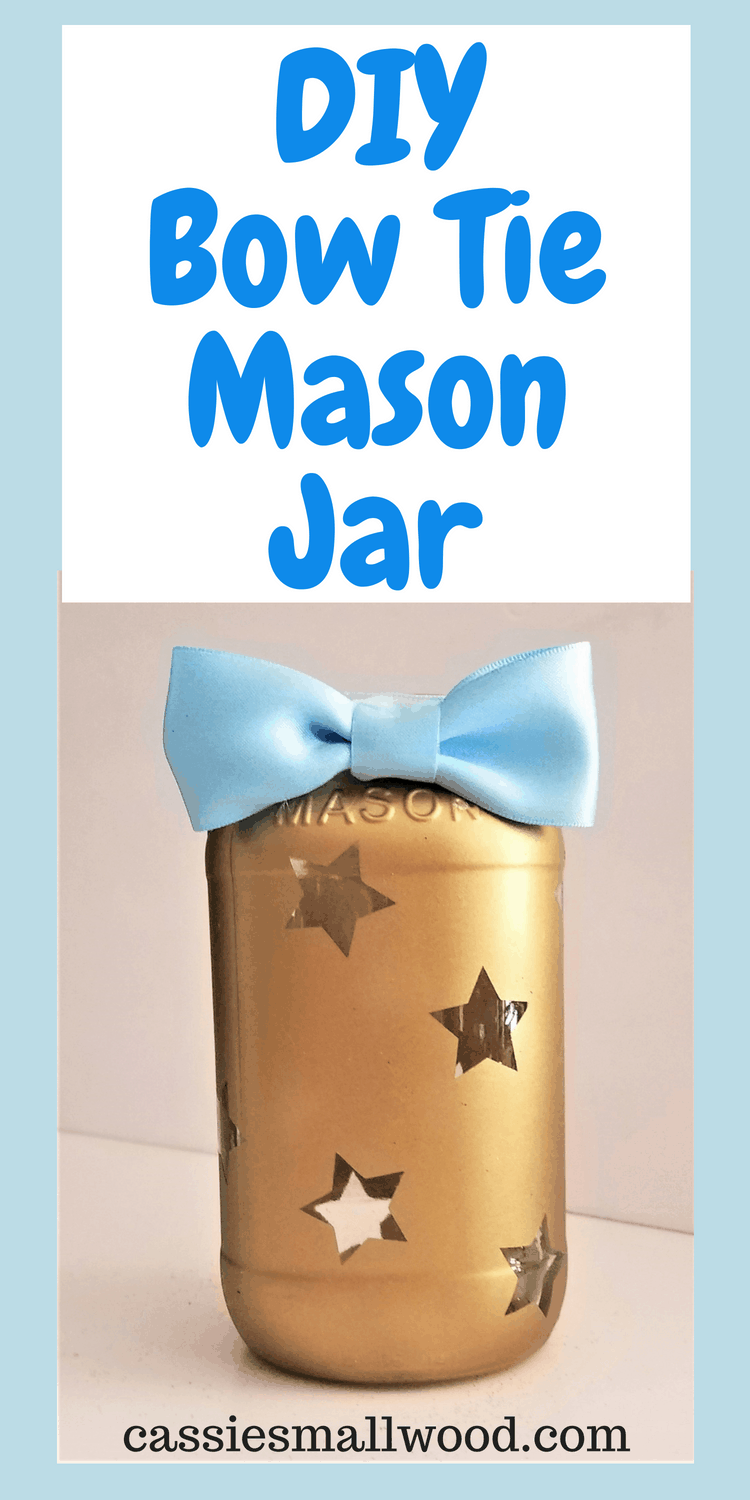
Here’s what you’ll need for the Bow Tie Twinkle Twinkle Little Star Party DIY Mason Jar:
- Mason jars (smooth)
- 1.5″ Light blue ribbon
- 5/8″ Light blue ribbon
- Hot Glue
- Hot glue gun
- Metallic gold spray paint (this is the one I used)
- Star stickers (1 inch) I recommend vinyl decals because paper ones will stick to the jar and not come off easily.
Here’s how to make the Bow Tie Twinkle Twinkle Little Star DIY Mason Jar:
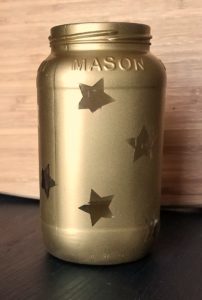
- Place the star stickers randomly on the mason jar. Be sure to change the angle of the stars for a more random pattern.
- Spray a coat of gold paint over the entire surface of the jar. Hold the can about 10 inches away from the jar to avoid drippy paint and get even coverage.
- Allow to dry.
- Spray a 2nd coat of gold paint making sure that the entire surface is completely covered.
- Allow to dry and you may have to hold the jar up to a light to see where the stickers are or look from the inside to find them. Remove star stickers to reveal the glass underneath.
After removing stars to reveal glass underneath. - Cut a length of 5/8″ ribbon that wraps around the mouth of the jar and overlaps a tiny bit.
- Hot glue the ribbon around the mouth of the jar by placing a small dot in 2 or 3 spots around the jar.
- Cut an 8 inch strip of the 1.5″ ribbon and glue the 2 ends together with a dot of hot glue. You should have a circle.
- Placing the seam in the center of the back, flatten the circle you just made with the ribbon and scrunch it up in the middle.
- Place a dot of hot glue in each fold where you’ve scrunched to hold it all together.
- Cut a 1 inch strip of thin ribbon and hot glue it around as the center of the bow tie.
- Glue the bow tie onto the front of the jar.

These twinkle twinkle little star mason jars make great decorations for your baby shower, a princess birthday party, a gender reveal, or kid’s room decoration. They’re so versatile and easy to make. I hope you love them!
If you need more Twinkle Twinkle Little Star themed party decoration ideas, I found some really cute things for you!
Did you know you can create a baby registry on Amazon? It’s free and a great way to get everything you need for your new baby without your friends and family having the hassle of going from store to store! Shop Amazon – Create an Amazon Baby Registry![]()
Be sure to check out this post from Lianne at Makes Bakes And Decor to make these cute storage jars!
See what Denise at Hootshack made for the DIY Blog Challenge here!

Other Posts You Might Like