DIY Patriotic Burlap Table Runner (EASY No Sewing)
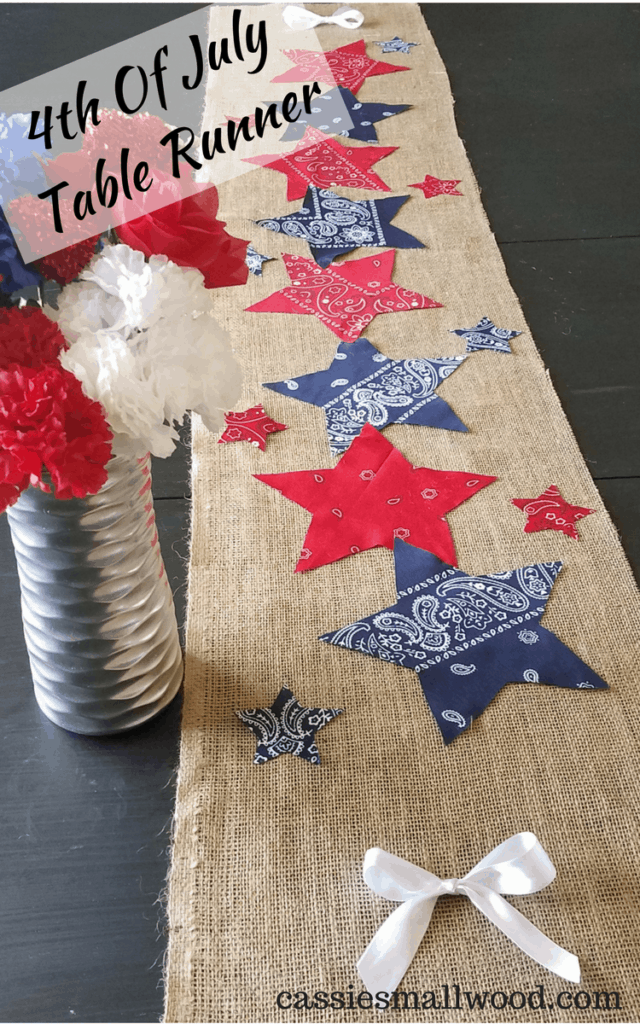
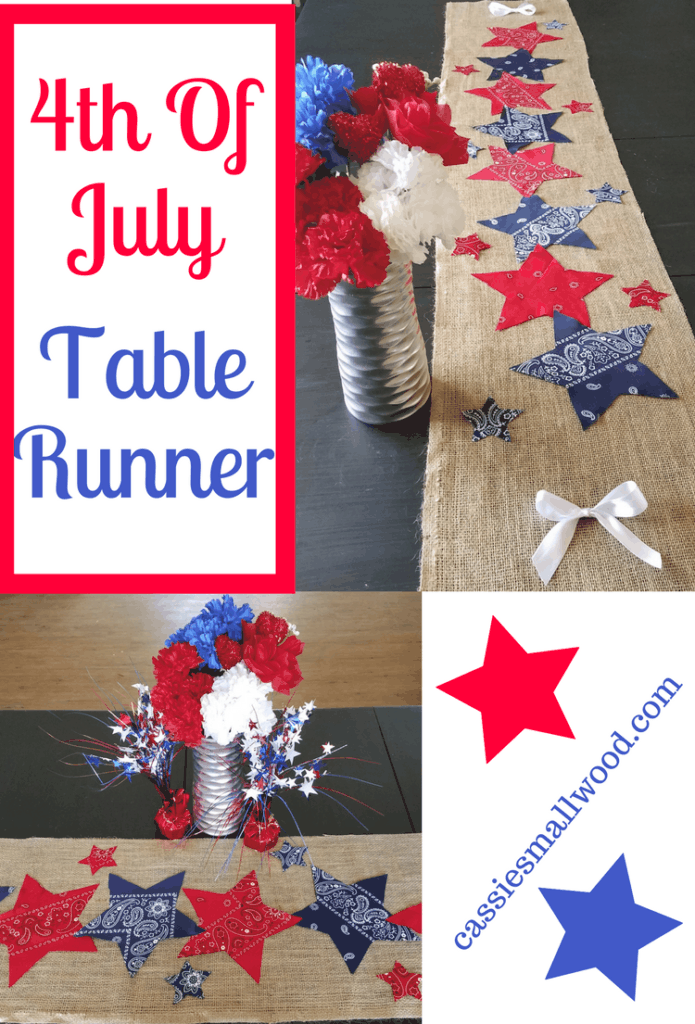
Summer is here and it’s time for all the fun activities that come with it! I’m going to show you how easy it is to make your own DIY patriotic burlap table runner to decorate for Memorial Day, 4th of July, or Labor Day. This burlap table runner is even perfect for every day use if you love being patriotic.
I’ve always loved watching the fireworks and have some wonderful memories of doing that with my family as a child. My family always had a party at someone’s house and then we all headed out to see fireworks on the 4th of July.
I know that being the host of a July 4th party can be hectic and stressful. And of course you want to make a great impression with some red, white and blue decorations.
That’s why I’m excited today to share with you this easy patriotic DIY July 4th table runner! The best part is that there’s no sewing involved. So anyone can make it!
It’s great for decorating your party tables with patriotic runners or for your July 4th dining table in your home.
The burlap table runner and red, white, and blue bandana stars make it really unique and it’s so easy to make!
Plus this is a really cheap way to make patriotic decorations because burlap fabric is very inexpensive.
I’ve tried many different burlap fabrics and this one is perfect.
There are different qualities of burlap fabric. Some have a looser weave and some are woven more tightly. I prefer the tighter weave so it looks higher quality and holds up for longer.
If you’re having a 4th of July BBQ, be sure to grab my free editable printable invitation to invite your party guests.
Here’s what you need to make your DIY Patriotic Burlap Table Runner:
This post contains affiliate links. See my disclosure here.
- Burlap fabric-I used 2 yards but your amount will depend how long your table is and if you want it hanging over the edge or not or save yourself the trouble of sealing it and get a burlap runner
- 1 Red Bandana
- 1 Navy Blue Bandana
- Heat N Bond Ultra
- Scissors
- Iron
- Star Patterns (Print them here)
- 5/8″ White Ribbon
- Pen
- Mod Podge
OR Stop Fraying
- Small paint brush
Here’s how to make a Burlap Table Runner For July 4th:
1. Cut your burlap to the length and width you want your burlap table runner to be.
I cut mine to 6 feet long and 14 inches wide but yours will vary depending on the size of your table. 14 inches wide should be suitable for most tables, but the length should be adjusted for your table.
To determine how wide your burlap table runner should be, measure the width of your table and divide by 3. This is only a rule of thumb though.
You may prefer a wider or skinnier burlap table runner depending on your other table decorations.
Make sure your place settings including any placemats can still be positioned around the table runner with a little space in between.
When cutting burlap, you can pull a thread out where you want to cut and this will make a line where you can cut and get a straight edge for your burlap table runner.
Once you’ve cut the table runner, you can also fray the edges if you like by pulling off a few threads around the edge of each side. I usually pull off 4 or 5 jute threads to get a nice frayed edge.
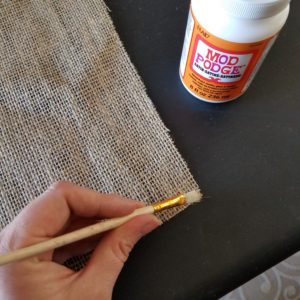
2. Seal the edge of your burlap table runner.
Brush on a thin line of Mod Podge or Stop Fraying around the edge of your burlap table runner to keep it from fraying.
If you’ve frayed the edge of your table runner, you’ll want to put the Mod Podge or Stop Fraying behind the frayed edges where the woven fabric begins.
I used Mod Podge in this tutorial because I know many people already have this on hand, but it will make the fabric stiff. So just use a small amount around the edge if you’re using Mod Podge.
I prefer to use Stop Fraying which is made for fabric and stays flexible, but I wanted to give another option for those who don’t want to spend the extra money on products for this craft.
3. Print and cut the patriotic star patterns for your table runner.
You can get the printable stars for your table runner here.
4. Iron your red and blue bandanas.
Bandanas usually come folded with pretty heavy creases, you’ll want to get the creases out so that your star cut outs will be nice and smooth.
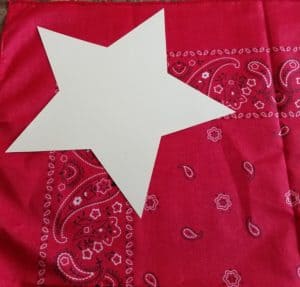
5. Cut the Heat N Bond to the size of your bandanas.
The easiest way to get your patriotic stars cut out is to cover the whole bandana with the Heat N Bond.
Bandana material is very light and flimsy to try to cut. Adding the Heat N Bond before cutting makes it really simple to cut the bandana material and get perfect star shapes for your jute table runner.
6. Attach the adhesive to your stars.
Iron the Heat N Bond to the back side of your bandanas. It only takes a few seconds to bond.
Be careful not to iron it for too long or the adhesive will lose its tackiness.
Peel the paper backing off of the Heat N Bond after it cools.
7. Cut out the bandana stars.
Trace the stars onto your bandanas and cut them out.
It’s easiest to trace onto the side with the Heat N Bond and this way you won’t have any pen marks on the front side of your stars when your patriotic table runner is complete.
8. Arrange your red and blue stars on the burlap table runner to your liking.
I staggered them and alternated colors. Be sure to leave room at the ends of your burlap table runner for your bows. I left about 10 inches at each end.
9. Iron the stars onto the burlap table runner.
Once you have them placed where you like, hold your iron on each star for about 30 seconds to bond them to the burlap runner.
10. Add the white bows to each end of the table runner.
The bows will add the white element to this patriotic red, white and blue table runner.
Tie 2 bows using your white ribbon and hot glue them to the ends of your 4th of July table runner.
That’s it! Super simple and adorable!
I know this patriotic July 4th burlap table runner will be a show stopper at your party!
If you love it, please share it on Facebook or Pinterest. It would mean the world to me 😍!
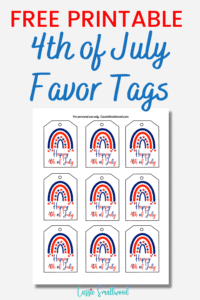
Grab these FREE PRINTABLE 4TH OF JULY GIFT TAGS to put on your party favor bags.
Don’t miss my ideas for throwing THE BEST 4th of July party! You can see that post here.
Other posts you might like
