DIY Travel Fund Jar Vacation Savings
 DIY Travel Fund Jar
Since I wrote last week about how to save money for vacation by creating a travel fund, I thought I would show you how you can make your own DIY travel fund jar. I promise it will be really easy and inexpensive and will turn out super cute!
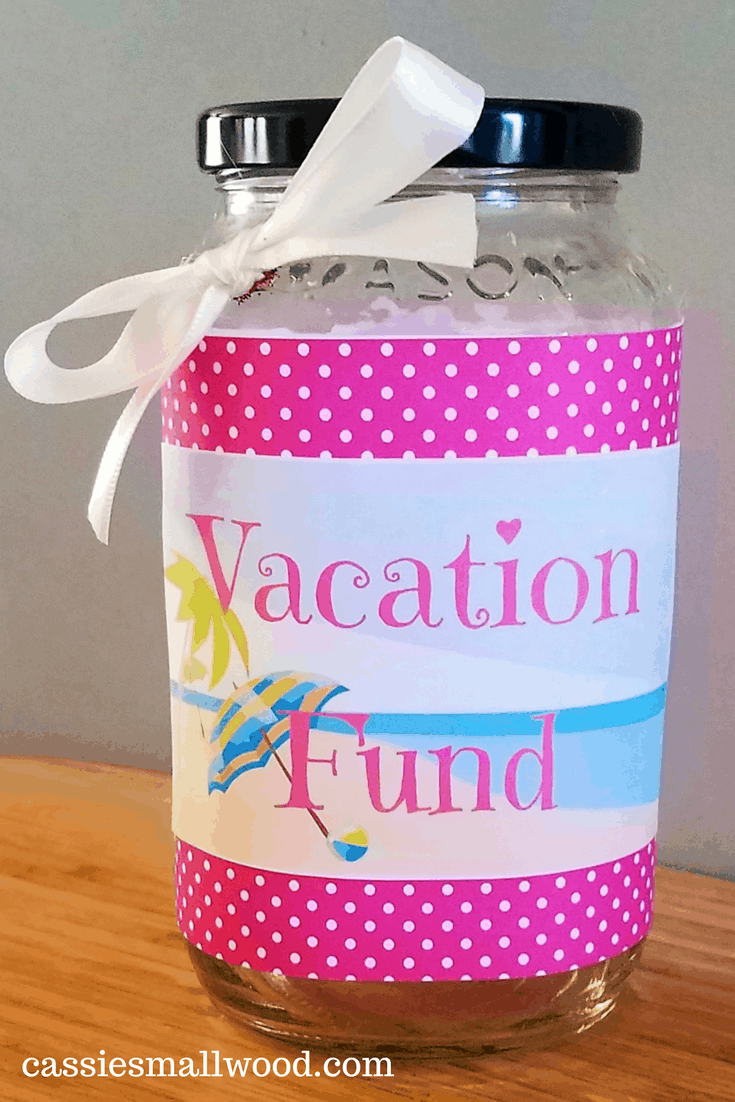
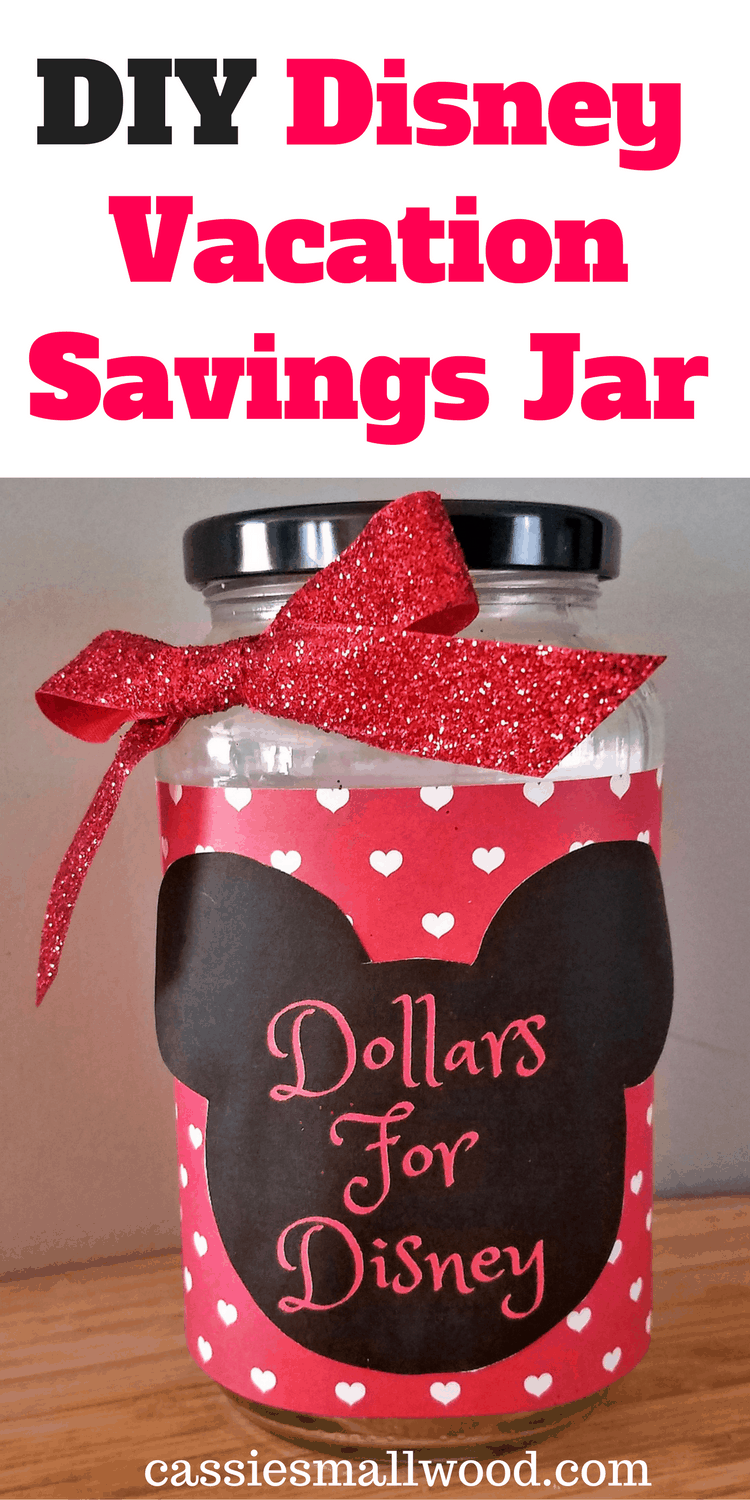
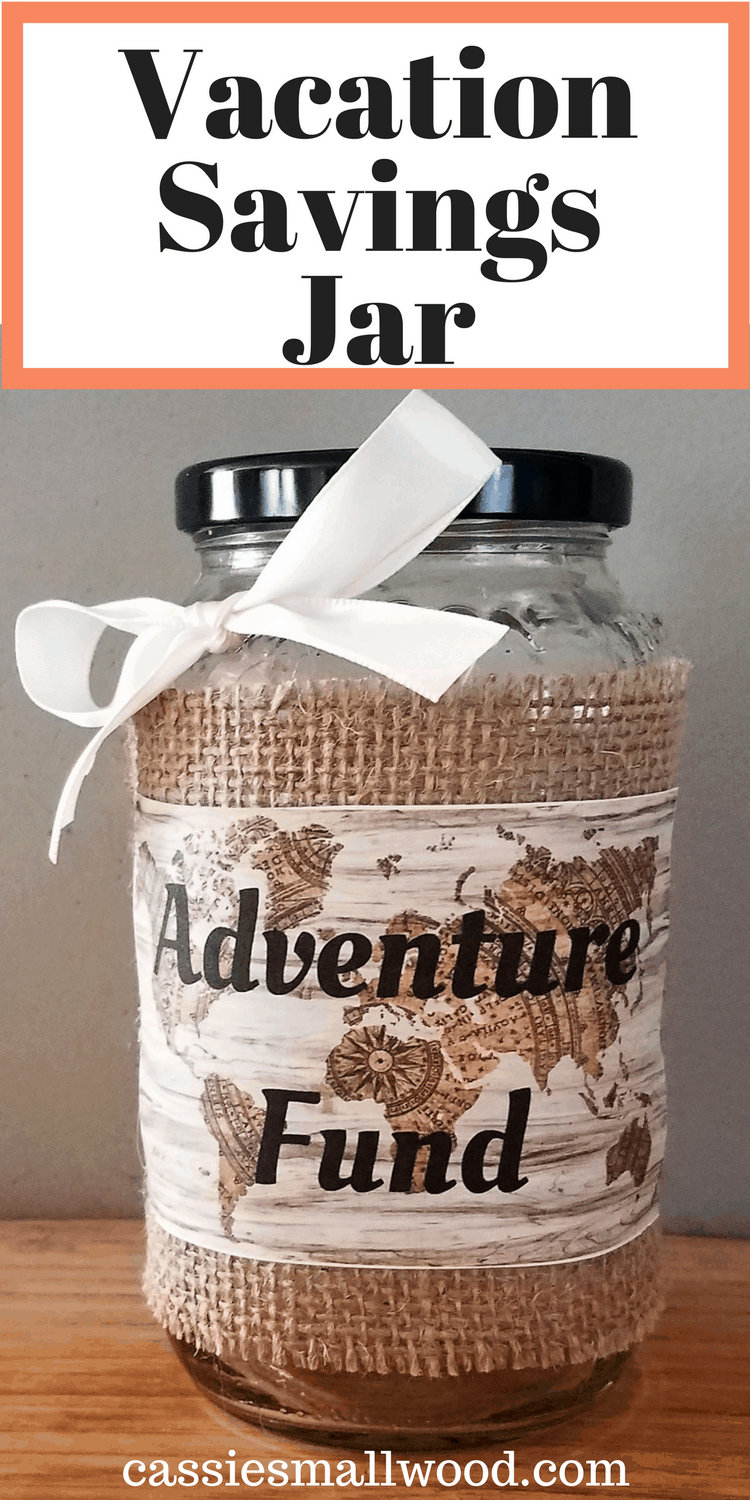
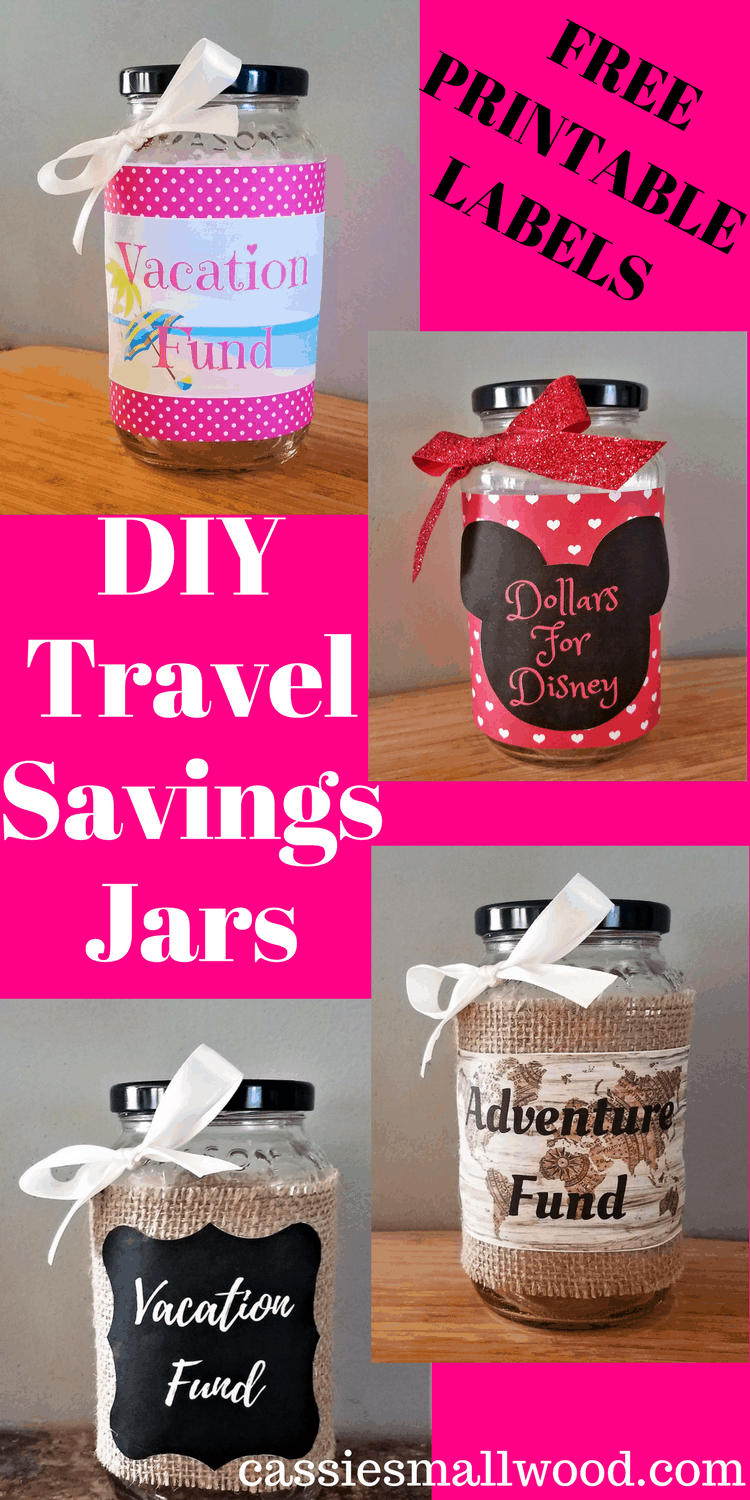
I created some free printable labels for you to use on your travel fund jar to make this whole process so much easier for you. Having this vacation fund jar around will make it easy to throw your extra change in when you empty your pockets or purse and you can also put together a vacation savings plan so you put a set amount of dollars in each week to reach your goal amount by the time your vacation comes around. I show you how you can save $1000 in 4 months here and give you some tips on how you can cut expenses to be able to make it happen.
Ok, let’s get started on your DIY Travel Fund Jar!
Here’s what you’re going to need for your travel fund bank:
- Mason Jar
- Coin Bank Mason Jar Lid
(This is optional but will make it like a bank so you can add coins and dollars through the top without removing the lid)
- Printable Labels
- Printer Paper
- Hot Glue & Glue Gun or Tape
- DIY Travel Savings Jar Labels
- Ribbon (optional)
Here’s how to make your DIY Travel Fund Jar:
- Remove the inner piece of the lid and replace with the coin slot.
- Cut your fabric or scrapbook paper to the size you like and that wraps around the jar.
- Attach the fabric or scrapbook paper to your jar with glue or tape.
- Print out the printable labels.
- Cut out the label you want to use.
- Place glue or tape around the edges of the label.
- Attach label to the fabric or scrapbook paper on your jar.
- Tie a bow around the neck of the jar or just glue a bow on the jar if you’d like to.
- Now start saving money in your travel fund jar! You’ll be vacationing in no time!
If you need a savings plan for your vacation that’s easy to follow, be sure to check out my Travel Savings Plan.


