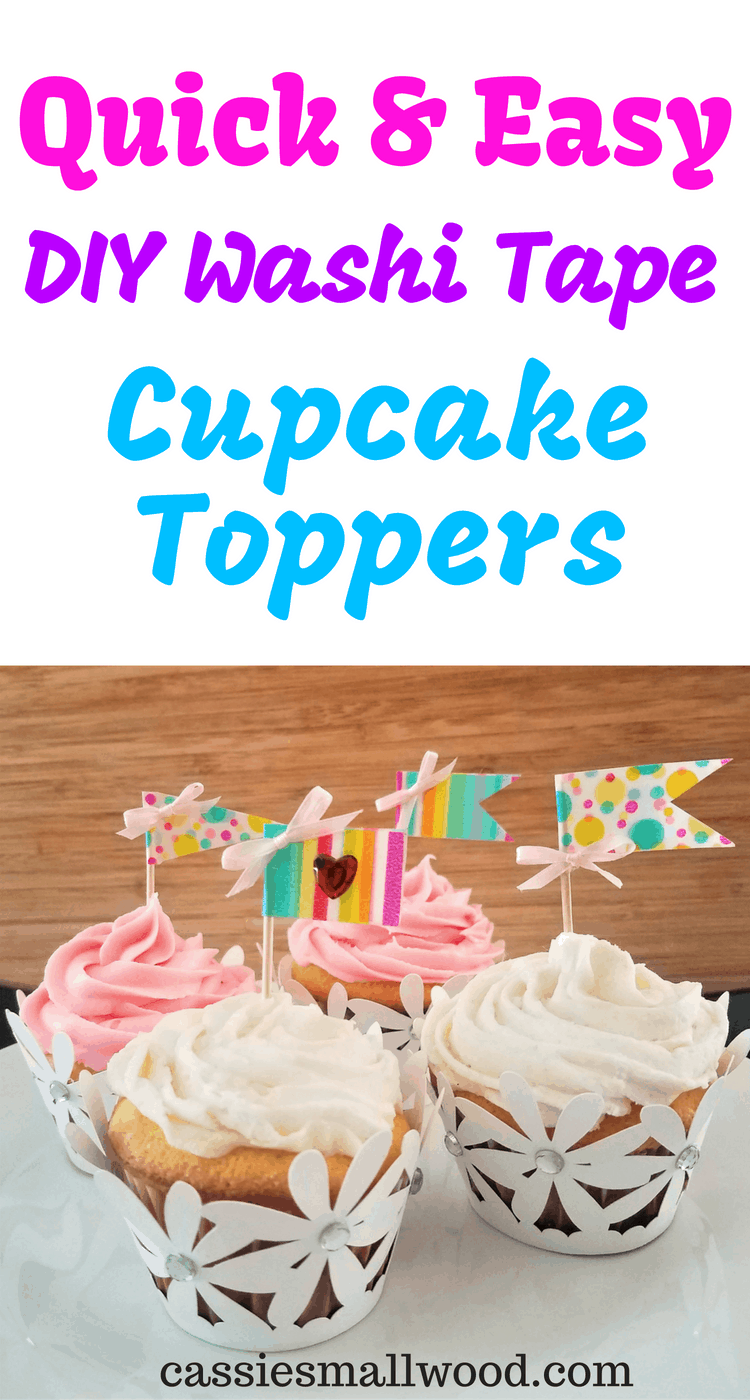
Washi Tape Cupcake Toppers Easy DIY Tutorial
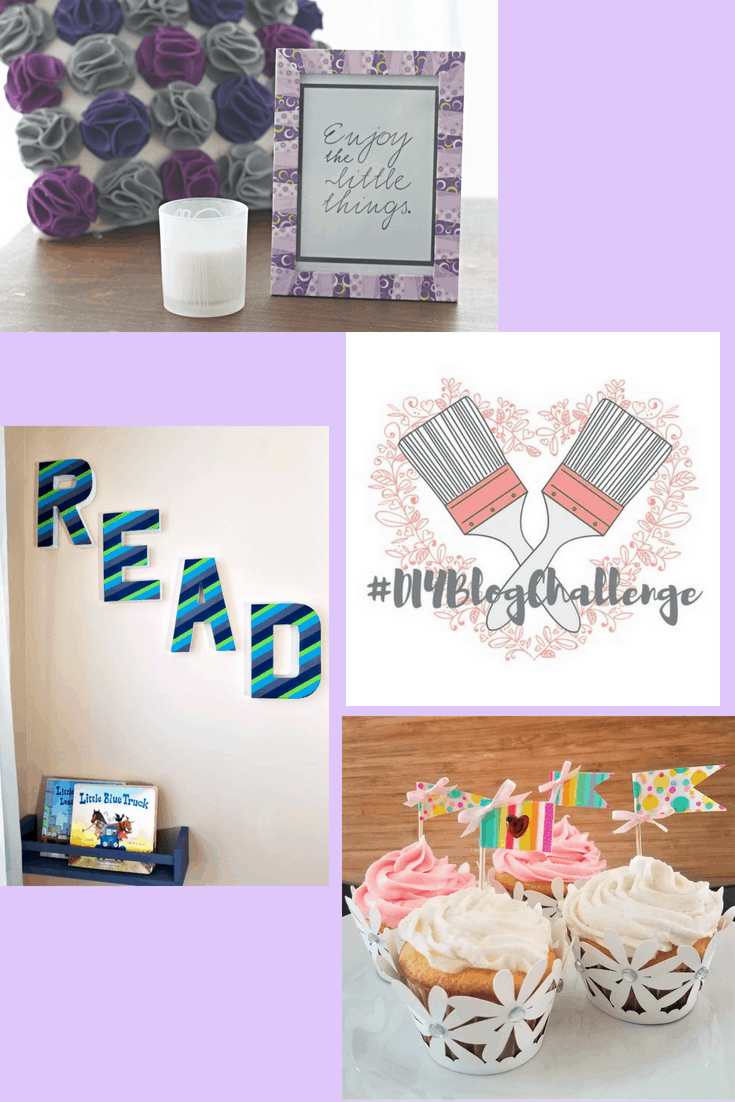
Since I opened my Etsy shop I’ve added new items from what I originally was selling and I discovered my love for making cupcake toppers! As you probably know, I take part in the #DIYBlogChallenge every month and we have a theme for our projects. This month we chose washi tape. This was my first time using it and I have to say, I really love it and look forward to lots of future projects using it! I created washi tape cupcake toppers that are perfect for any occasion. Be sure to see at the end of my post what my fellow blogger friends made for the challenge!
I remember when I was a kid, my mom would always try to bake me a fancy cake for my birthday. She would buy a cake pan in a character shape and try to frost it like the picture that came with the pan. She really tried, but this usually ended in disaster because I don’t think she ever took any cake decorating classes and she was by no means a professional. Of course, I never cared, but she was always frustrated that her efforts didn’t pay off.
I feel like cupcakes are such an easier way to do any kind of party. If you have a cute cupcake wrapper and topper, no one really cares if they’re frosted to perfection and you don’t have to try to make fancy flowers and write in frosting. These washi tape cupcake toppers are seriously going to take you about 30 seconds to make each one and they cost practically nothing to make. I’ll show you how is easy it is!
Easy DIY Tutorial For Washi Tape Cupcake Toppers
This post contains affiliate links. See my disclosure here.
Here’s what you need for your washi tape cupcake toppers:
- Washi Tape
 in any color or print you like
 - Toothpicks
- Skinny Ribbon
- Embellishments
- Scissors
- Hot Glue Gun and glue sticks
Here’s how to make washi tape cupcake toppers:
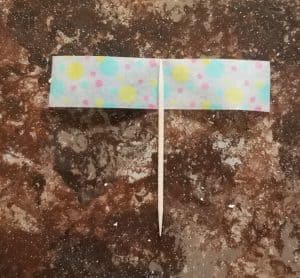
- Cut a strip of washi tape about 3 inches long and lay it flat on your table with the sticky side up.
- Place a toothpick in the center of the piece of tape with the tip of the toothpick just at the top of the washi tape.
- Fold the tape over and carefully stick the two sides together making sure to line up all of the edges. If you have an edge that overlaps a little, give it a trim to even it out.
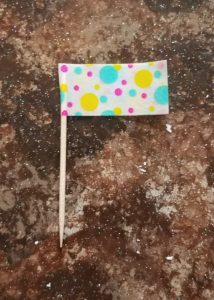
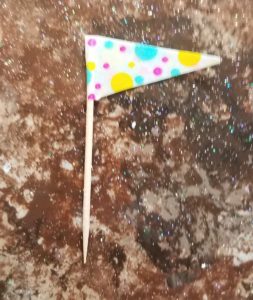
- You can leave it just like that or cut a design in the end.
- To make a triangle shaped cupcake topper, cut a strip going from the center of the free end of the washi tape to the tip of the toothpick and then a second strip from the center of the free end to the bottom edge of the washi tape.
- To make a cutout in the end of your topper, cut a small strip from the top corner of the free edge toward the center and then cut an equal strip from the bottom toward the center.
- Now it’s time to embellish them! Tie tiny bows with your ribbon and glue them on with a little drop of hot glue wherever you like them. Add your stickers or gemstones as you like.
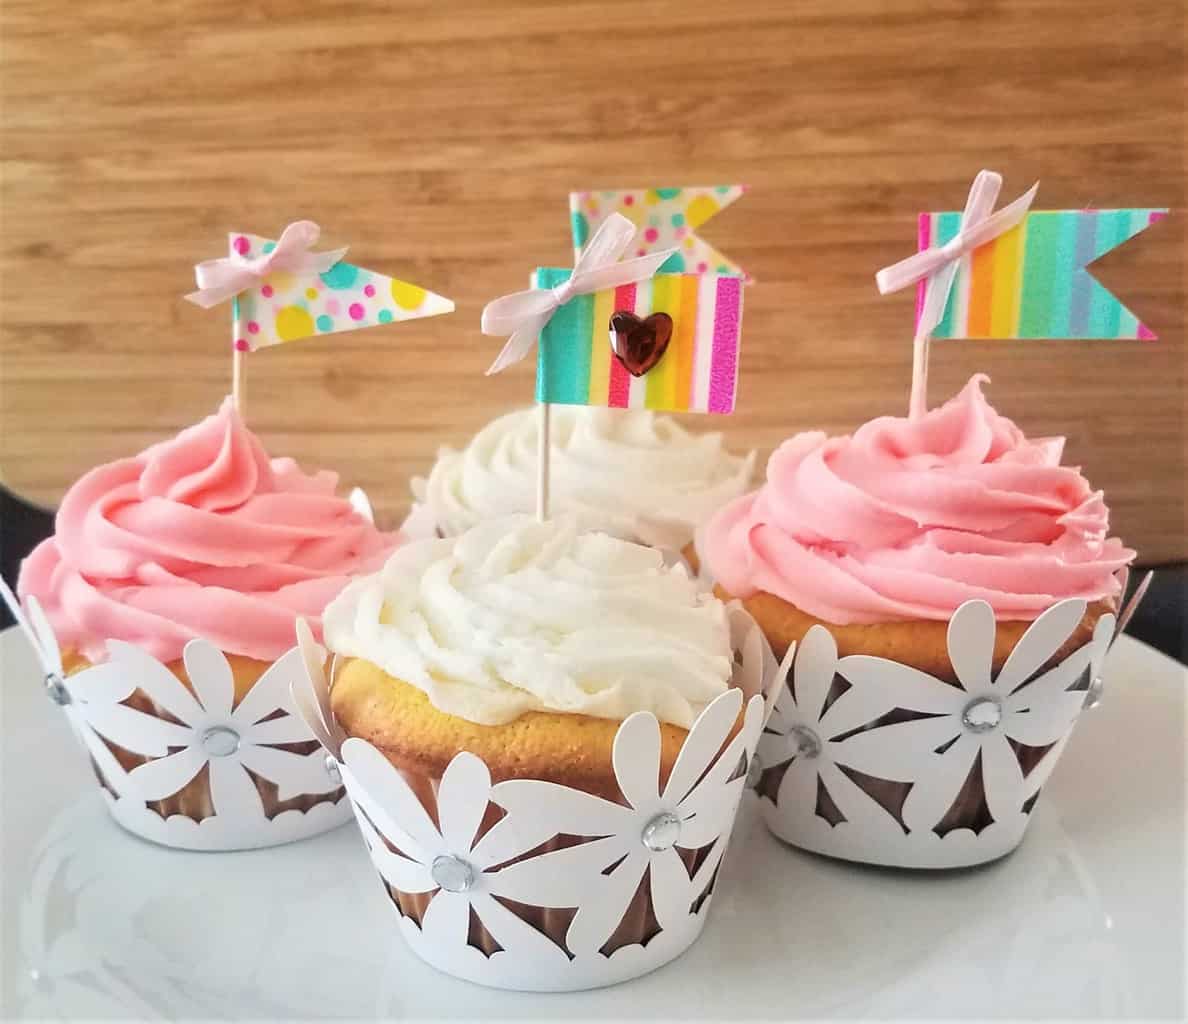
The thing I love about these washi tape cupcake toppers is that you can find so many different prints of washi tape making them perfect for any occasion at all. While I was making these I was thinking that the triangle shaped ones would be really cute for a golf theme cupcake because they look like the flags on the golf course. You can customize these to fit your theme for a birthday party, baby shower, bridal shower, etc. You could even write on them to create your own personalized cupcake toppers.
I’m so excited to see your cupcake toppers! Be sure to tag me on Instagram @hunnyboocreations if you share your party pics!
Here’s what my friends made for the challenge:
Other Posts You Might Like