Kitchen Organization DIY Packet Organizer
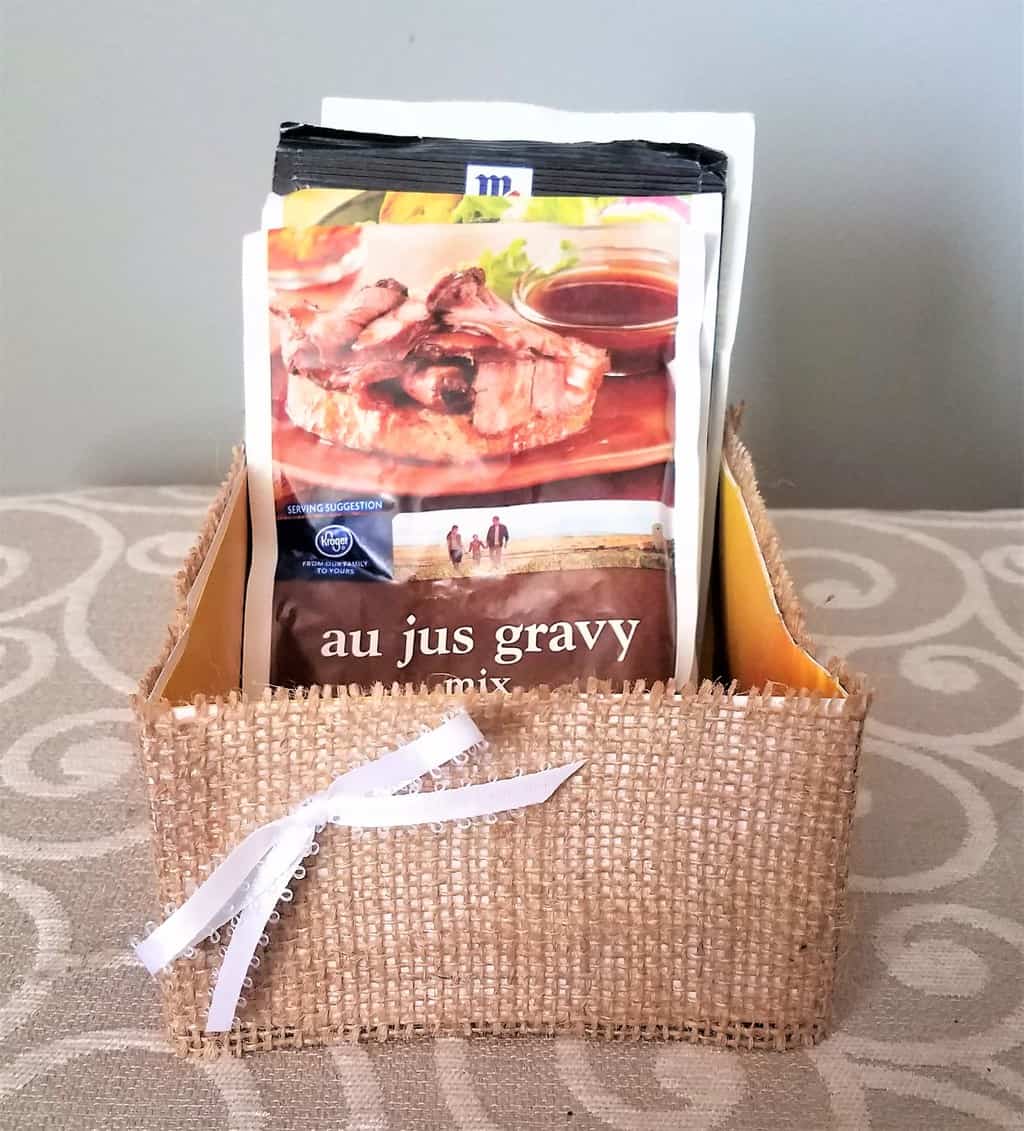
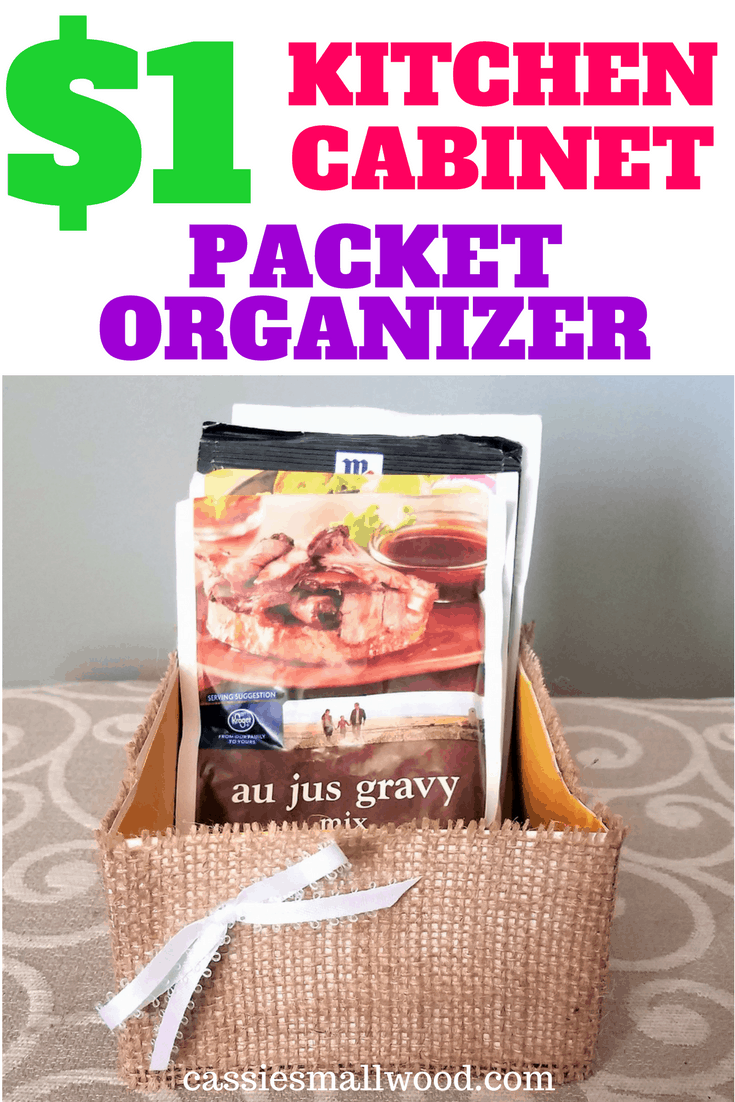
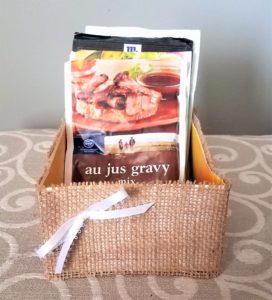
Today we’re going to tackle a kitchen organization project. It’s a DIY packet organizer! I’m super excited about this one because those darn packets all over the place in my cabinets really drive me crazy! I think you can probably relate. The coolest part is that it costs practically nothing to make!
This project is one I made for the DIY Blog Challenge and our theme for the month was Mod Podge. Be sure to check out the links to my friends’ posts at the end and see what they made too!
Here’s what you need to make your DIY Packet Organizer:
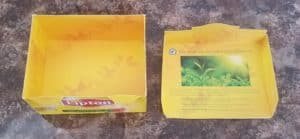
- Lipton Tea Box–the one that holds 48 tea bags
- White Cardstock
- Burlap or other fabric
- Mod Podge
- Paint Brush or Sponge
- Scissors
- Pencil or Pen
- Clothespins
- Ribbon
Related posts

Here’s how to make your DIY Packet Organizer:
- Cut the lid off of your box at the seam where it folds over.

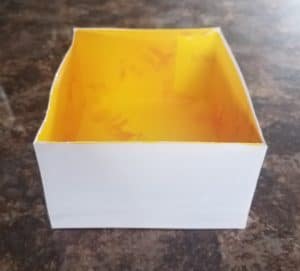
- Fold a piece of white cardstock in half and trace the long side and short side of the box onto the cardstock.

- Cut along the lines you traced so you have 2 of each piece (2 long and 2 short).
- Brush a coat of Mod Podge on each side and place the cardstock pieces on evenly and smooth down.

- Allow to dry for 15-20 minutes.
- Cut a strip of burlap that is the height of the box and long enough to wrap around all the sides of the box. I frayed mine a bit on the top edge by pulling off a couple of threads.

- Coat one side of the box with Mod Podge and place the burlap strip onto the Mod Podge making sure that the edges match up and are covered. Place a clothespin or 2 to hold it in place.
- Continue doing one side at a time until all 4 sides are covered.

- Allow to dry completely and remove the clothespins.
- Tie a bow with your ribbon and use Mod Podge to attach it. Place a clothespin right in the center of the bow to hold it in place until dry.
See what my friends made for the DIY Blog Challenge!


