Easy Bandana Styrofoam Pumpkin Craft For Fall
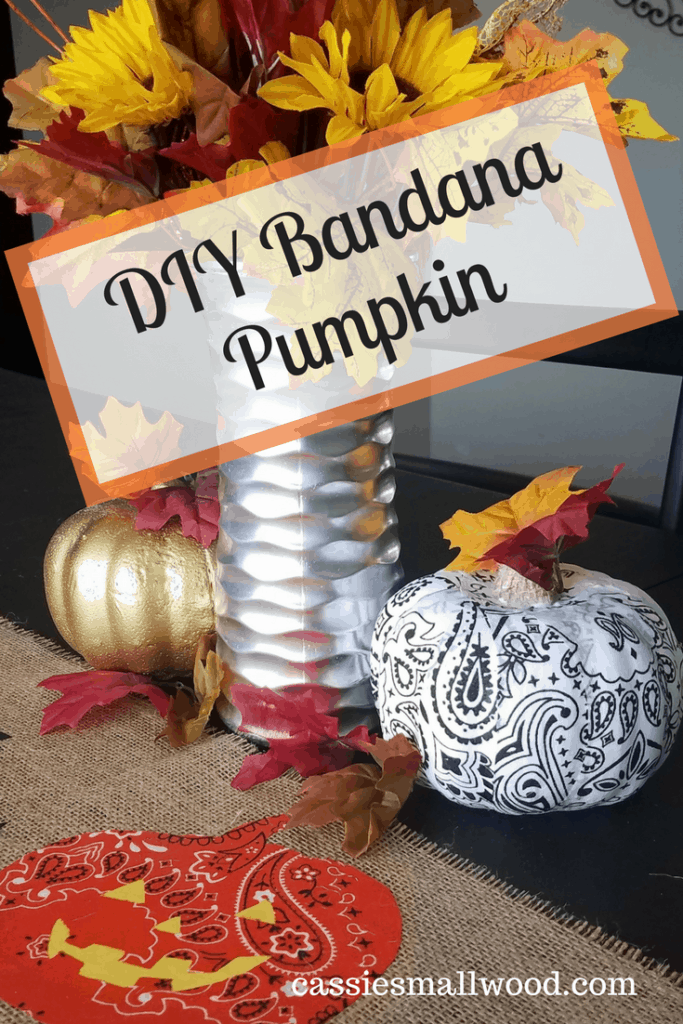
I’m so excited that we’re going into the holiday season! I love fall decor and this easy bandana styrofoam pumpkin craft will make fall decorating even more fun.
You can put these cute little styrofoam pumpkins all over your house because they’re inexpensive and so simple to make.
You can use a Dollar Tree styrofoam pumpkin and a bandana from Dollar Tree to make it. If you can’t find the color of bandana that you want at Dollar Tree, Hobby Lobby has tons of colors of bandanas that are a dollar at the time I’m writing this.
I made this easy styrofoam pumpkin craft for the DIY Blog Challenge with my blogger friends. Be sure to check out their projects at the end of my post!
I’ve been into bandana projects lately and have even opened a store on Etsy selling some of them. So I decided to make a bandana pumpkin to go with some of my other fall decor.
You can make these white styrofoam pumpkins like I did or any color you want for fall or Halloween.
Make one in orange, one in black and one in white for a cute Halloween foam pumpkin display.
Or make a brown one, orange one and yellow one for a pretty fall pumpkin decorating idea.
You could also make a stacked styrofoam pumpkin craft with these bandana covered pumpkins. If you want them stacked in a staggered pattern, just use a little hot glue to secure them in the pattern you want. Be sure one side doesn’t get too heavy at the top though or it will tip over.
DON’T MISS MY OTHER FALL POSTS:
- Turkey templates and coloring pages
- Pumpkin Outlines
- Pumpkin Coloring Pages
- Thanksgiving Potluck Sign Up Sheets
- Fall Leaves Templates and Coloring Pages
- Thanksgiving Coloring Pages
- My full collection of coloring pages
Here’s what you’ll need to make this DIY styrofoam pumpkin craft:
This post contains affiliate links. Please see my disclosure for more information.
- Styrofoam Pumpkin (I found mine at Dollar Tree)
- Bandana
in your choice of color
- Chalk Paint
or craft paint to match your bandana color
- Mod Podge
- Paint brush
- Burlap, jute or brown paint (I used burlap because that’s what I had on hand.)
Here’s How To Make This Easy Dollar Tree Styrofoam Pumpkin Craft:
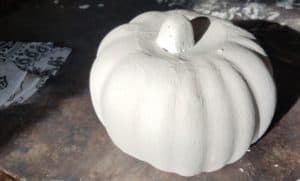
- Paint your pumpkin with the paint.

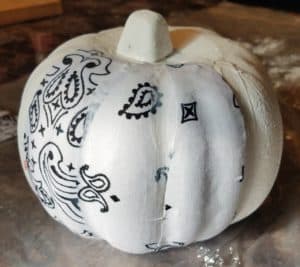
- While your paint dries, cut strips of bandana to fit your pumpkin. My pumpkin had lines. So I cut my strips to the size of the sections on the pumpkin (about an inch and a half wide and 8 inches long)

- Once your paint is dry, Mod Podge your styrofoam pumpkin on one section of the pumpkin and place a bandana strip over it. Make sure you smooth out all the wrinkles and get the edges down really well. Continue on like this until the whole pumpkin is covered.

- If you want to put Mod Podge over your fabric you can. I just left mine without a top layer of Mod Podge because I like the texture of the fabric, but adding the extra layer will make it more resistant to dirt over time.
- Wrap your burlap or jute around the stem and glue it down or paint it brown if you don’t have any jute or burlap.

These little pumpkins are the perfect complement to your other fall decor, centerpiece or mantle decorations.
Don’t forget to take a look at what my friends made for this DIY challenge!
Ravenwould


