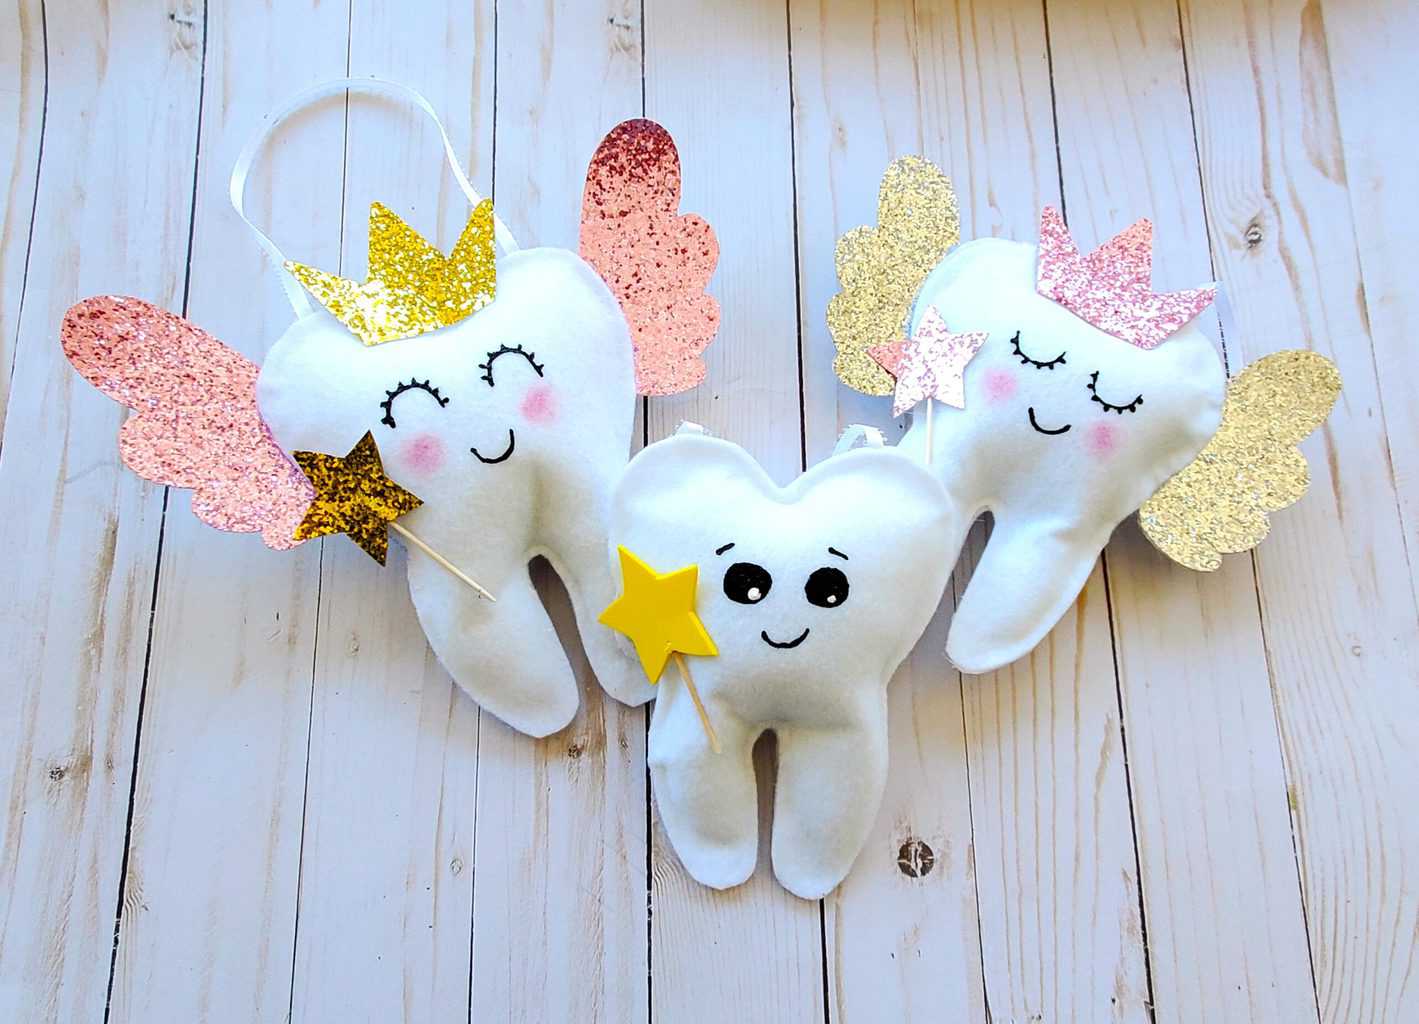
Tooth Template & DIY Tooth Fairy Pillow Tutorial (No Sew)
Use this free printable tooth template to make your own cute no sew Tooth Fairy Pillow using the tutorial below.
It can be difficult for the Tooth Fairy to find a little tiny tooth under your child’s pillow. Having a Tooth Fairy pillow makes it so much easier for the Tooth fairy to get to the tooth and leave a fun little surprise for your little one.
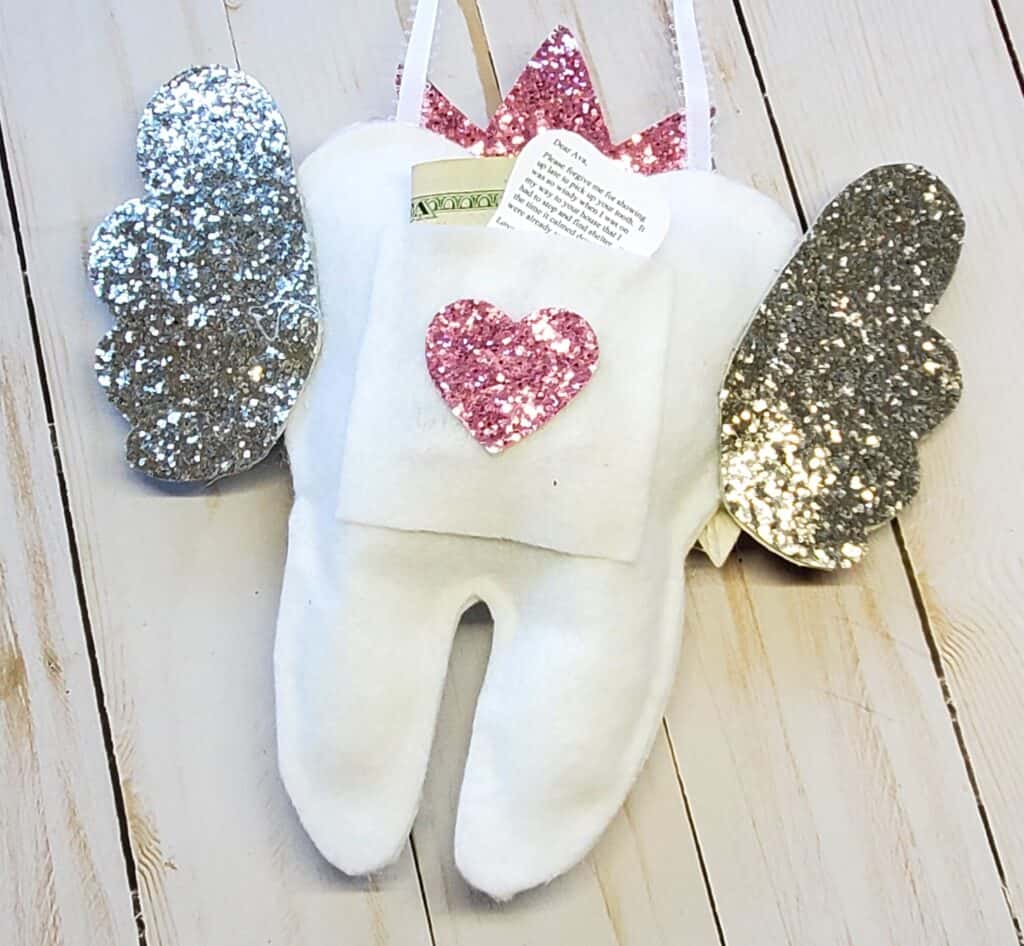
This Tooth Fairy pillow pattern includes a back pocket where your child can put their tooth for the Tooth Fairy to find and the Tooth Fairy can put money or a note in it.
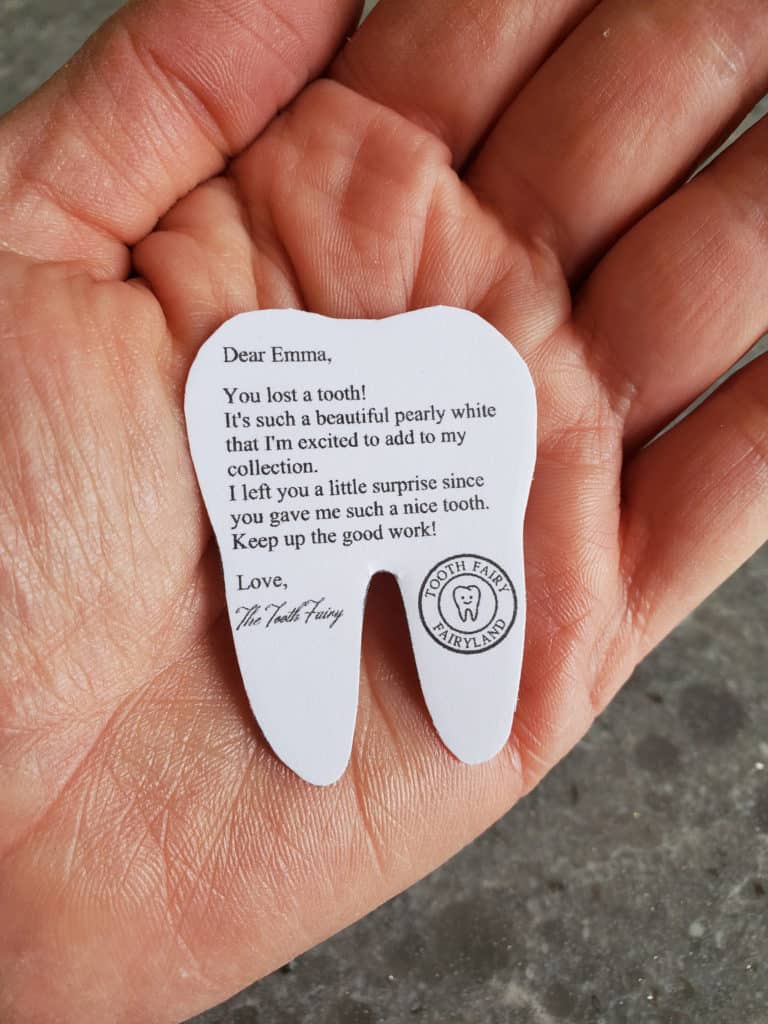
My editable mini Tooth Fairy letters fit perfectly in the pouch of this Tooth Fairy pillow and will make your little one feel really special when they find it in the morning after the Tooth Fairy has visited.
Be sure to also see my list of the cutest Tooth Fairy gift ideas.
This post contains affiliate links. See my disclosure here.
Materials You Need To Make A DIY Tooth Fairy Pillow
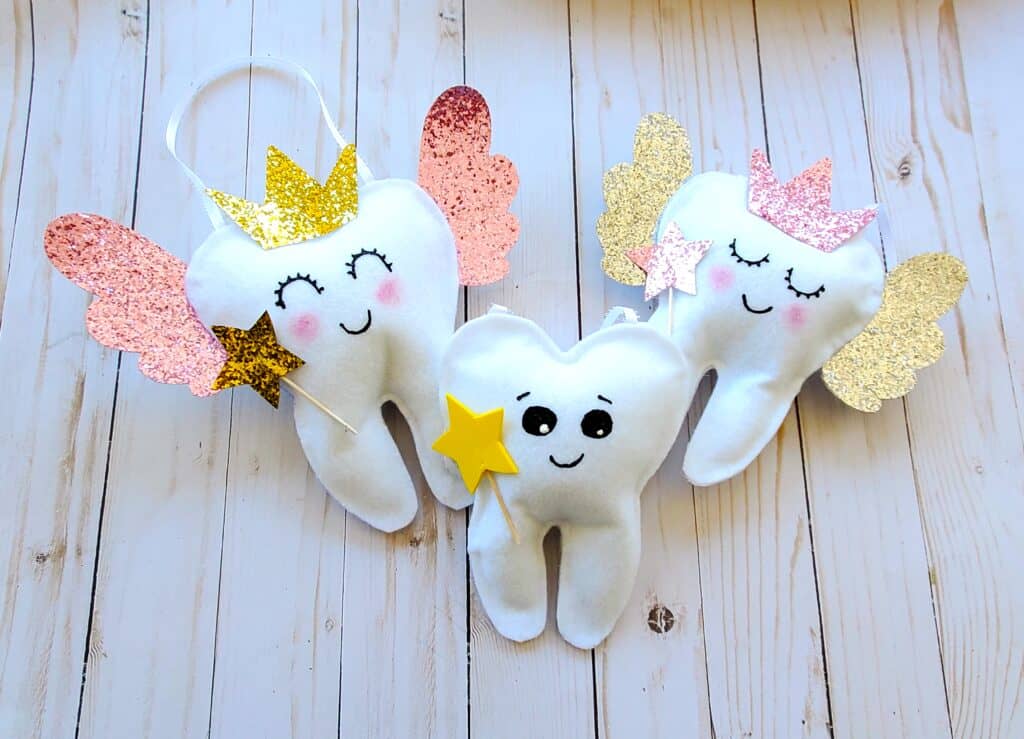
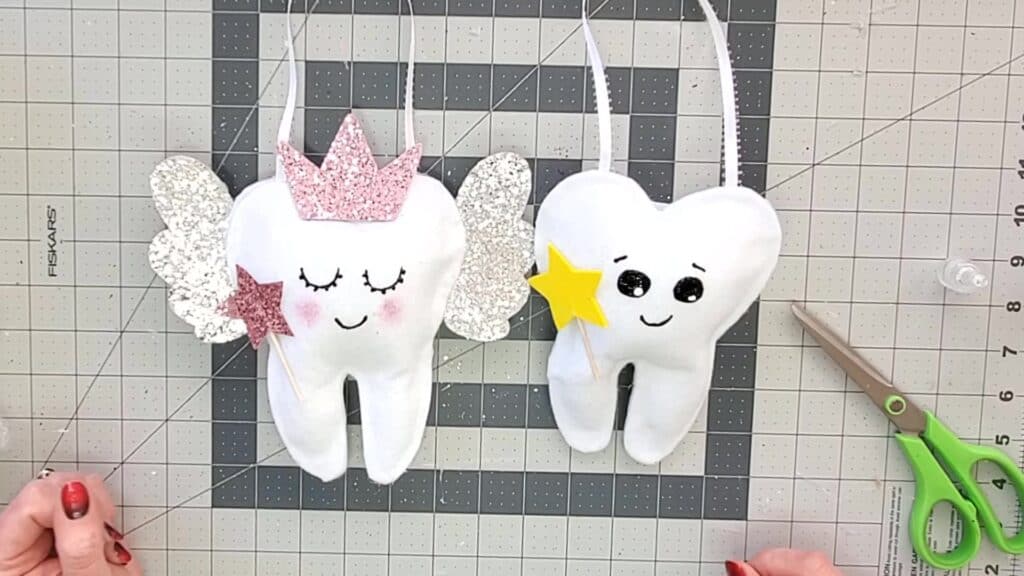
I’ll be showing you how to make a Tooth Fairy pillow for girls and a Tooth Fairy pillow for boys in this tutorial. The materials are slightly different for each.
Materials For The Tooth Fairy Pillow For Boys
- White felt
- Yellow felt or craft foam (for star wand)
- Red felt or craft foam (for heart on pouch)
- 1 Toothpick
- Hot glue
- Pencil
- Tooth Template with Tooth Fairy Pillow pattern pieces (at the end of the post)
- 3D Fabric Paint
- Paper or cardstock to print pattern on
- Scissors
- Polyfil
- Thin ribbon or string
Materials For The Tooth Fairy Pillow For Girls
- White felt
- Glitter felt or glitter craft foam (for crown, wand, wings and heart)
- 1 Toothpick
- Hot glue
- Pencil
- Tooth Template with Tooth Fairy pillow pattern pieces (at the end of the post)
- 3D Fabric Paint
- Paper or cardstock to print pattern on
- Scissors
- Polyfil
- Thin ribbon or string
- Blush
How To Make A Tooth Fairy Pillow
Print out the tooth template and pattern pieces.
There will be 2 pages total that include the tooth template as well as the Tooth Fairy pillow accessories.

Cut out the Tooth Fairy pillow pattern pieces.
I like to use cardstock for the templates because it gives me more of an edge to catch my pencil on when tracing, but paper will work too.
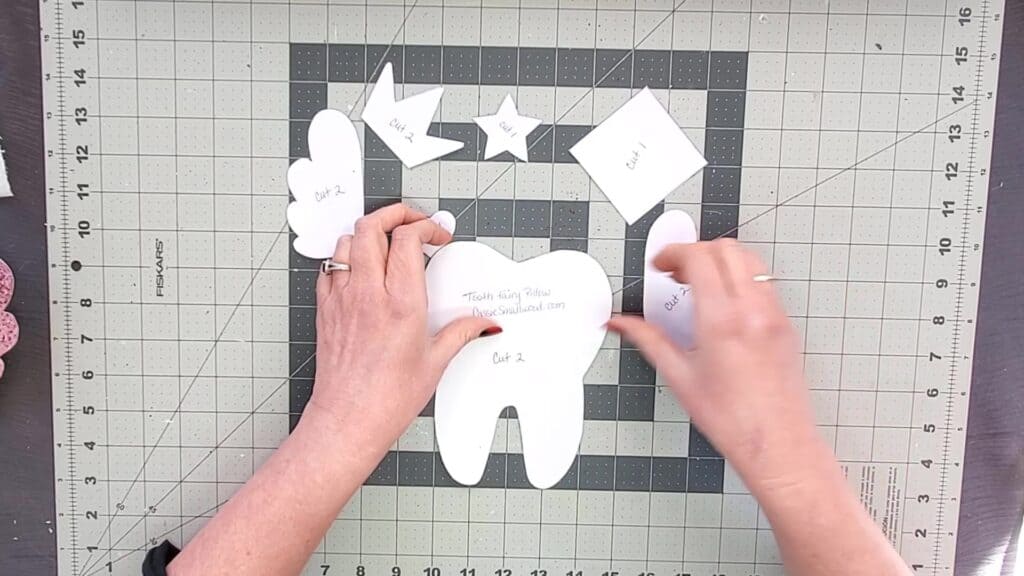
Trace the tooth template onto white felt.
Each pattern piece tells how many felt pieces of each you need. For the tooth, you need 2 felt pieces.
Use pencil to trace the template onto the felt. Pen tends to show on the final project’s edge.
Cut inside the lines you’ve drawn to keep from having pencil marks on your Tooth Fairy pillow.
Trace the other Tooth Fairy pillow pattern pieces onto the appropriate color of felt that you’ve chosen.
If using glitter felt for the crown and wings, you will need two of each piece to make a front and back side that look pretty.
If using regular felt, you’ll only need one of each piece.
Cut out the Tooth Fairy pillow felt pieces.
Be sure to use sharp scissors to make cutting easier.
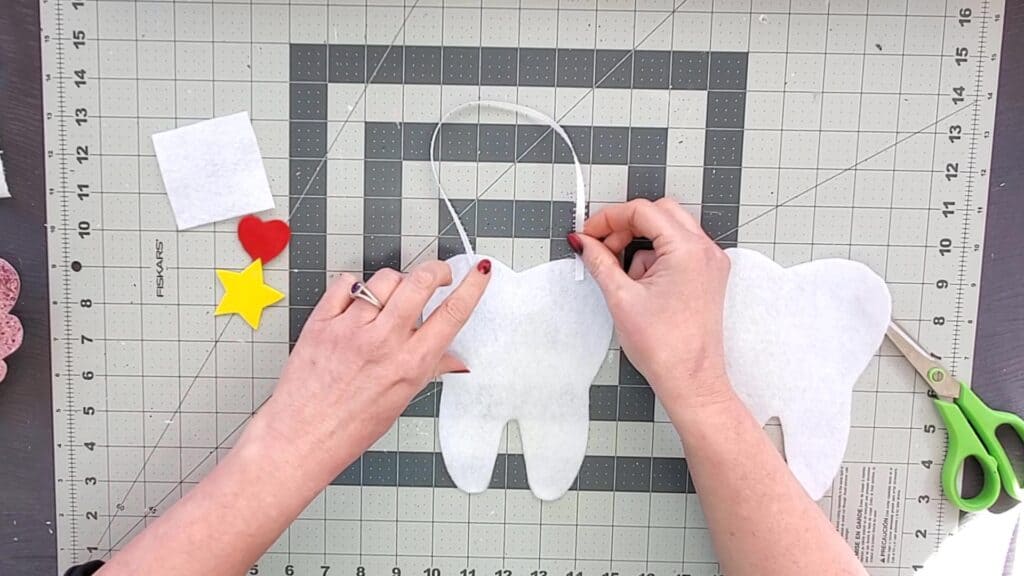
Cut a piece of ribbon or string to 12 inches.
You can make this longer or shorter depending where you’d like to hang your Tooth Fairy pillow.
If you’re not planning to hang it, you can skip this step.
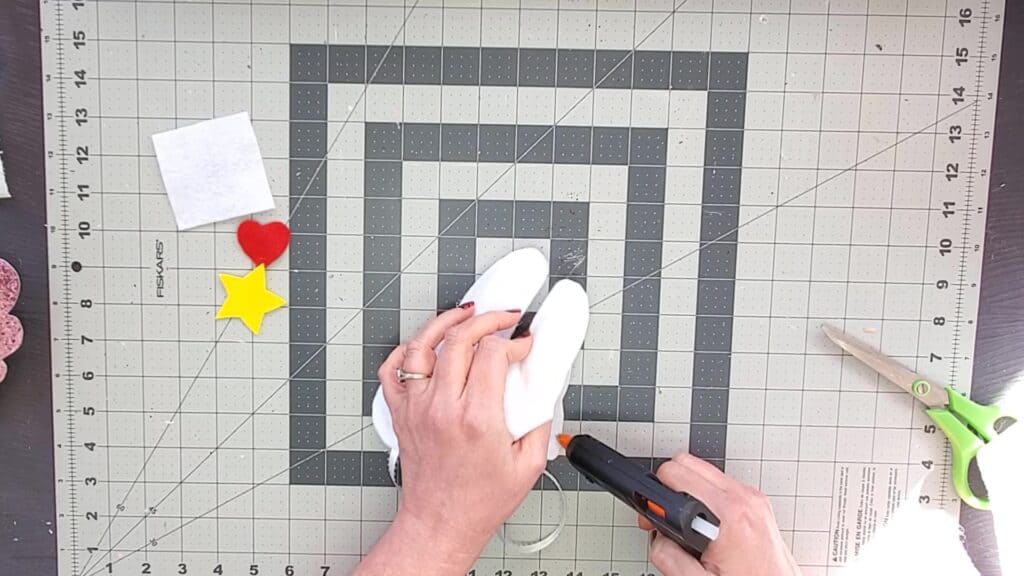
Glue each end of the ribbon to the top of the tooth creating a loop to hang the Tooth Fairy pillow from.
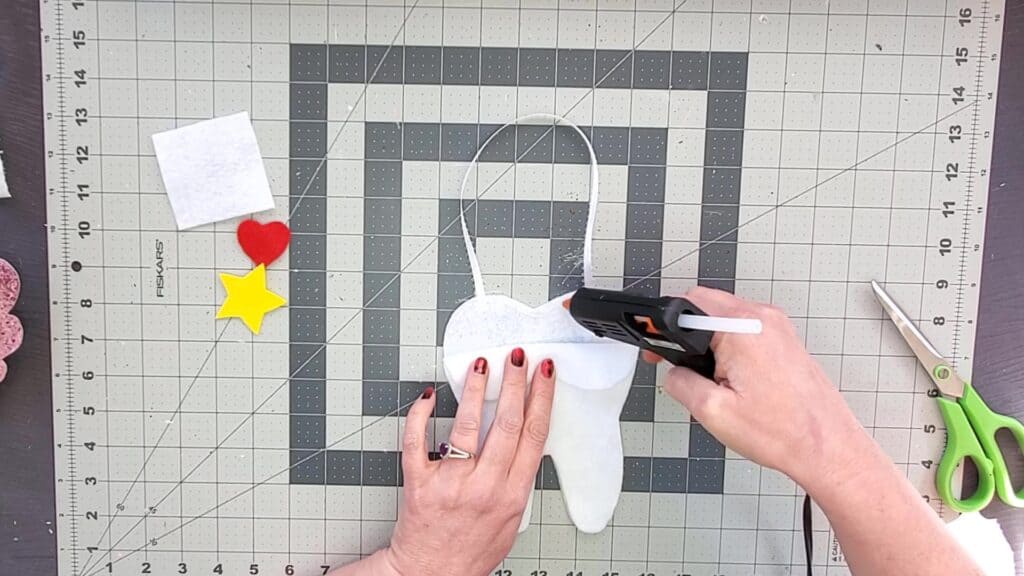
Glue 2 tooth pieces together around the edge.
Leave an opening on one side to stuff the pillow.
Stuff the tooth pillow with Polyfil.
Begin with the bottom roots of the tooth and then stuff the larger part.
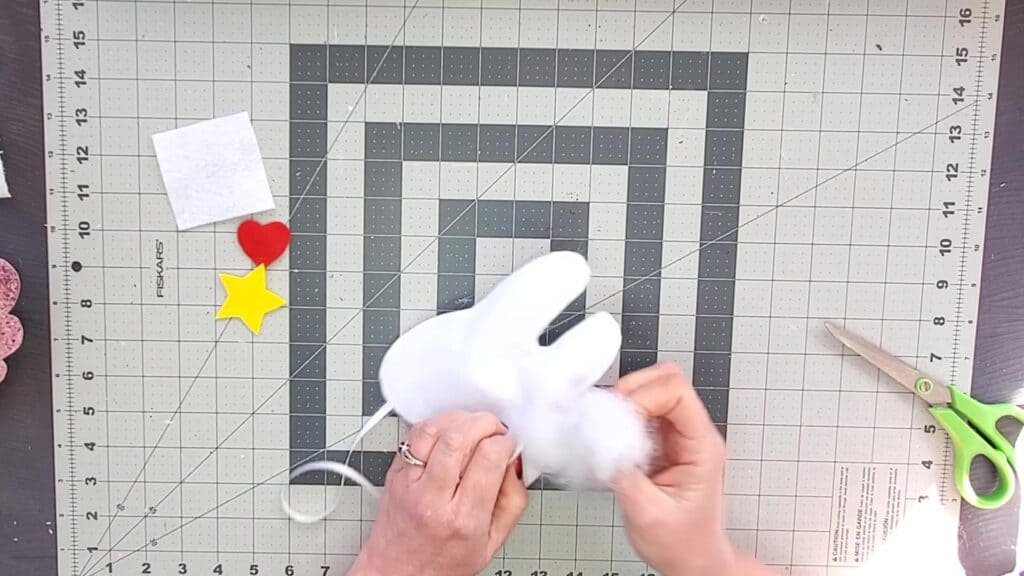
Glue the opening closed.
Push the Polyfil in while pulling the felt pieces together and hot glue the opening.
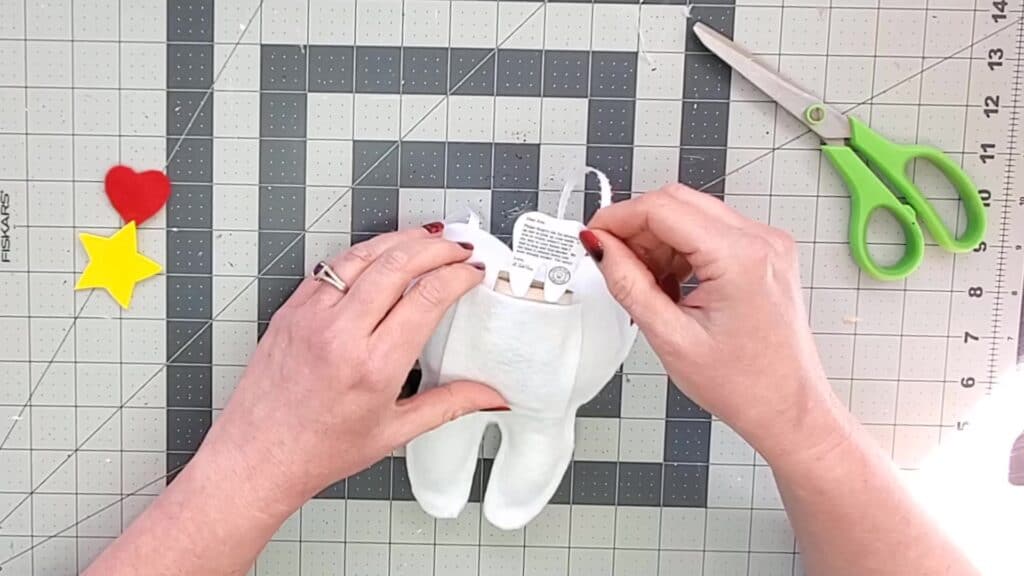
Attach the pouch to the back of the tooth.
Put hot glue on 3 sides of the square felt piece to create a pocket or pouch for putting the child’s tooth and the money the Tooth Fairy leaves in.
Leave the top side open to make the pocket.
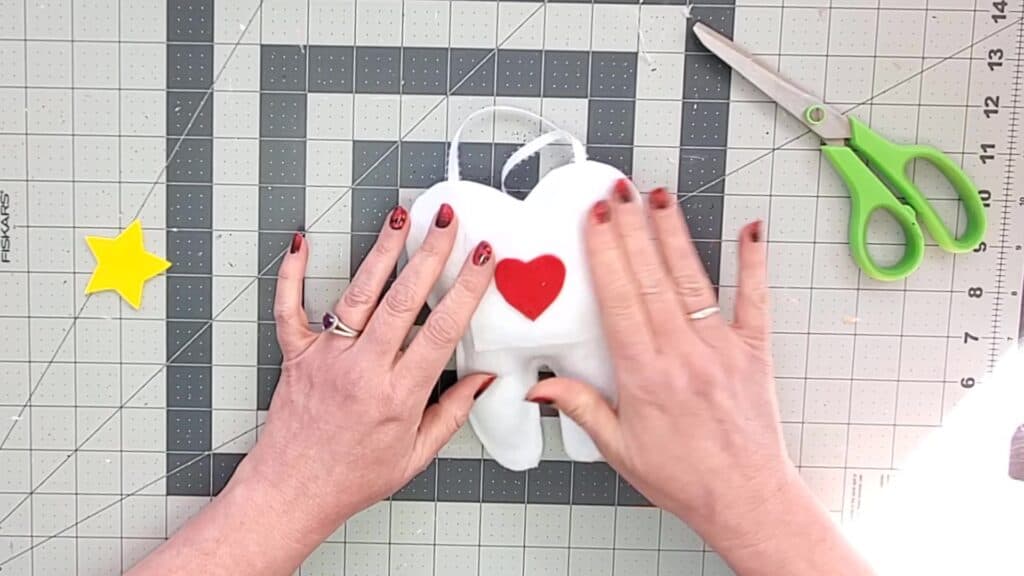
Glue the heart onto the pouch.
Use hot glue to attach the heart onto the pocket you created.
Glue wing pieces together.
If you’re adding wings to your Tooth Fairy pillow, use hot glue to glue 2 wing pieces together to create a front and back if using glitter felt.
If using regular felt that is the same on both sides, this step is not necessary unless you want to make the felt more sturdy by adding an extra layer.

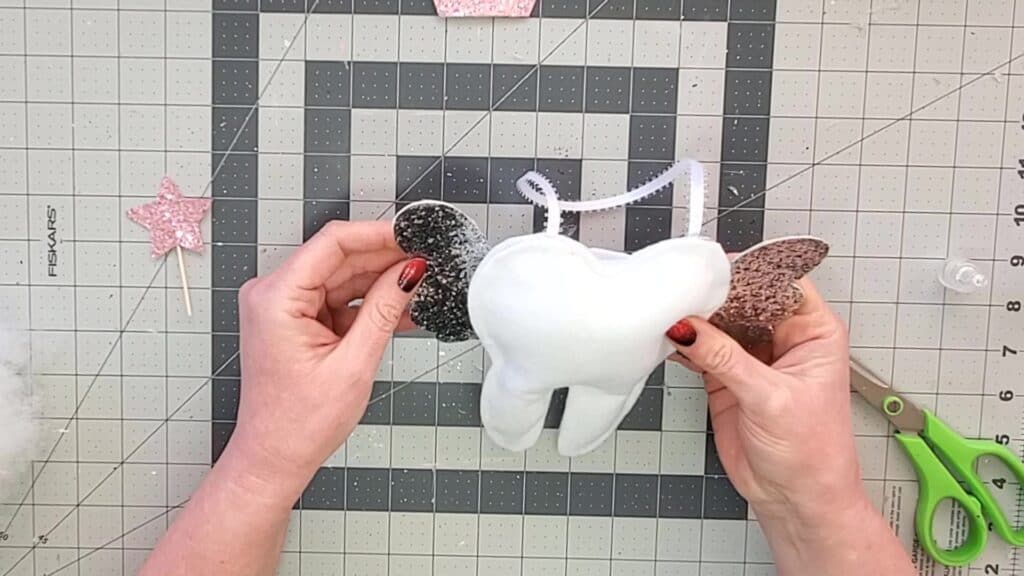
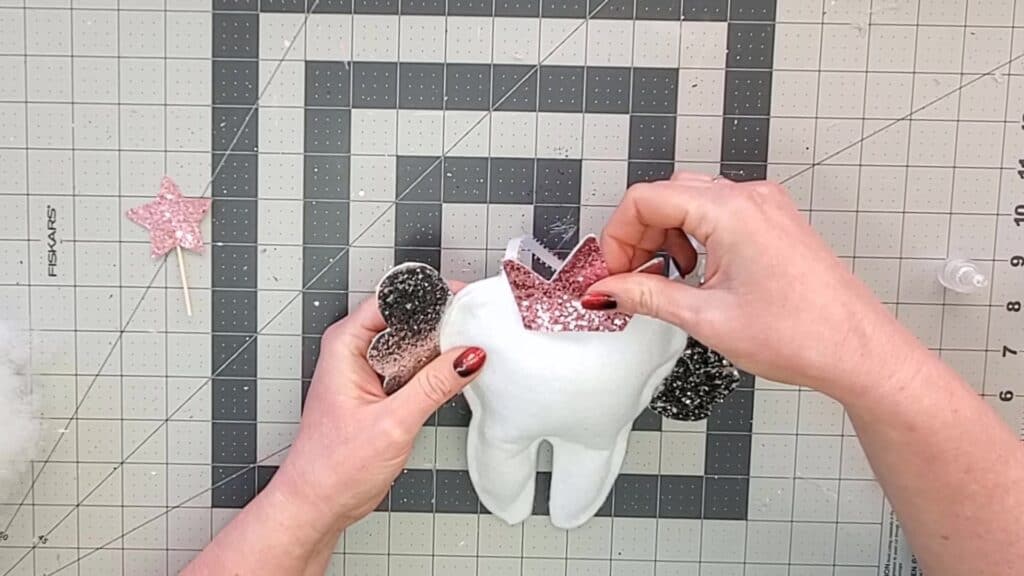
Attach the wings to the back of the tooth.
Make sure to line the wings up with each other so they’re even.
Glue crown pieces together.
If using glitter felt, glue 2 crown pieces together to create a front and back side.
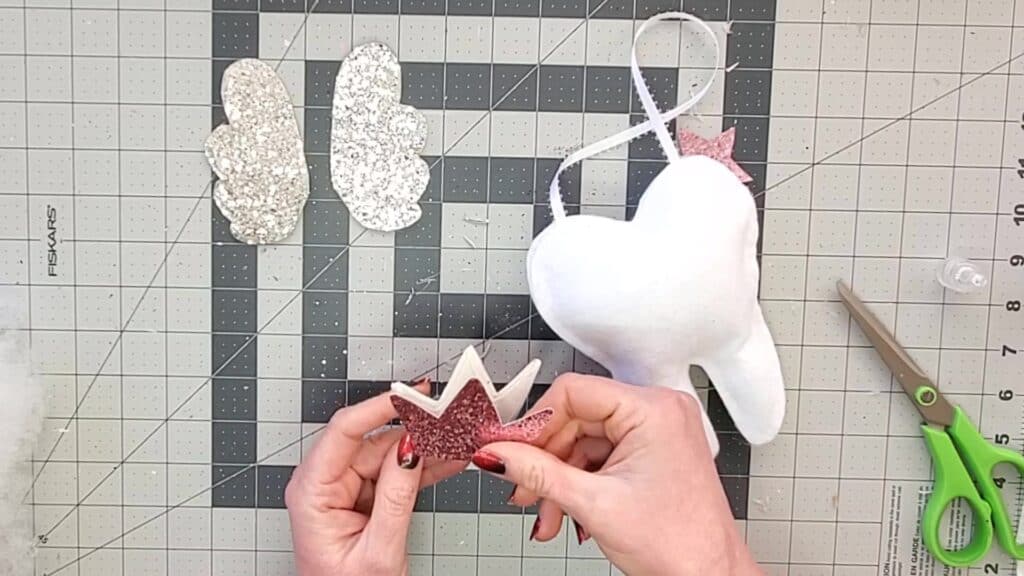
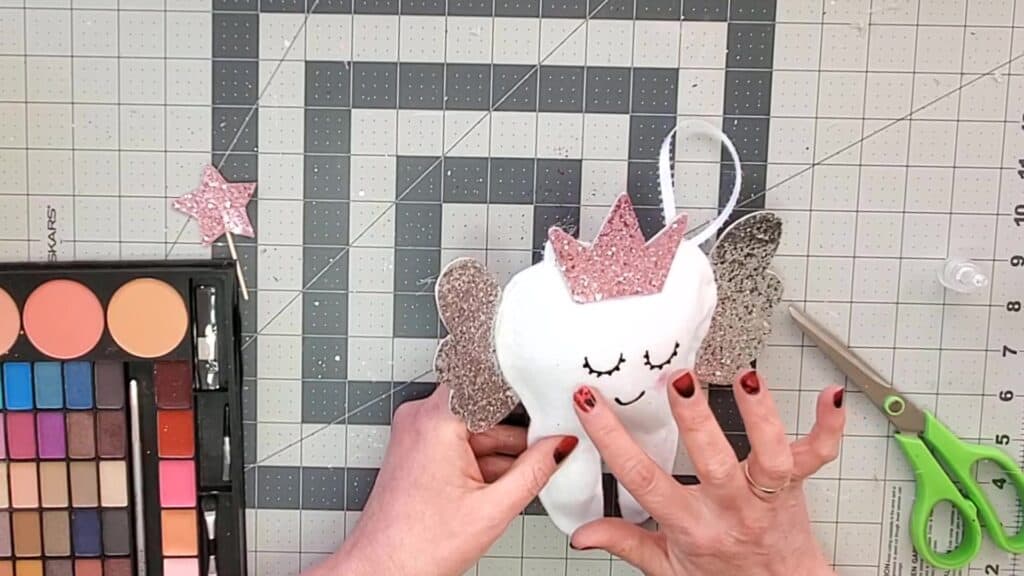
Attach crown to the top of the tooth pillow.
If using the crown on your Tooth Fairy pillow, use hot glue to attach the crown at the top of your Tooth Fairy pillow.
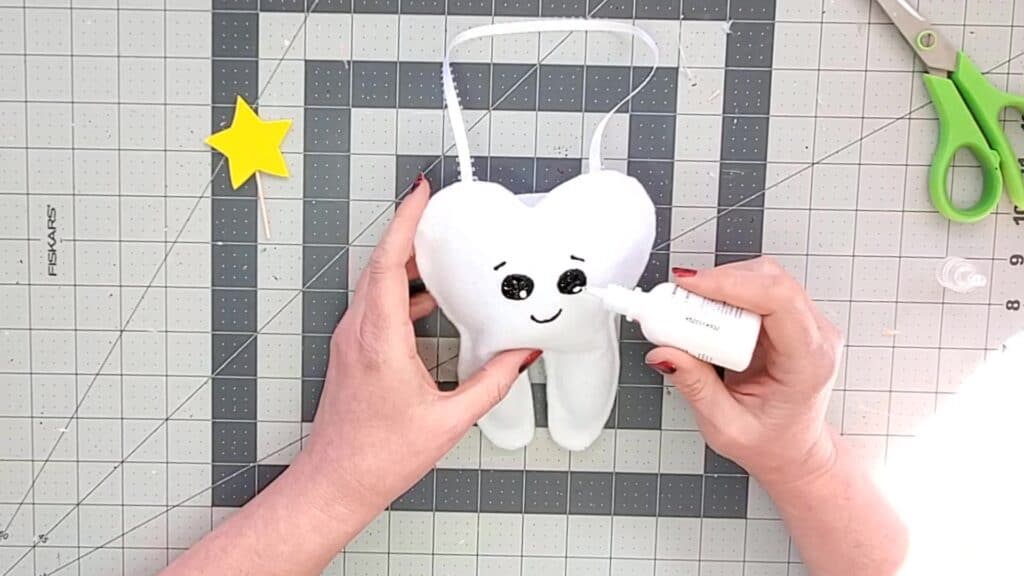
Use fabric paint to make a cute face.
You can do open eyes or closed eyes by using the paint straight from the bottle. Use light pressure to squeeze out a thin line for the mouth.
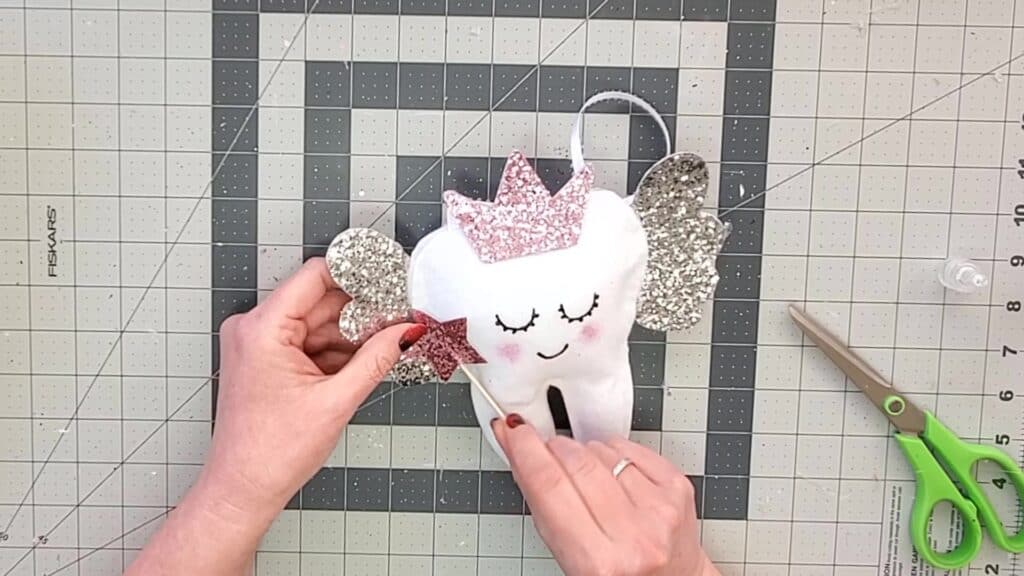
You can also use a little blush to make rosy cheeks. Apply with your finger or a small brush.
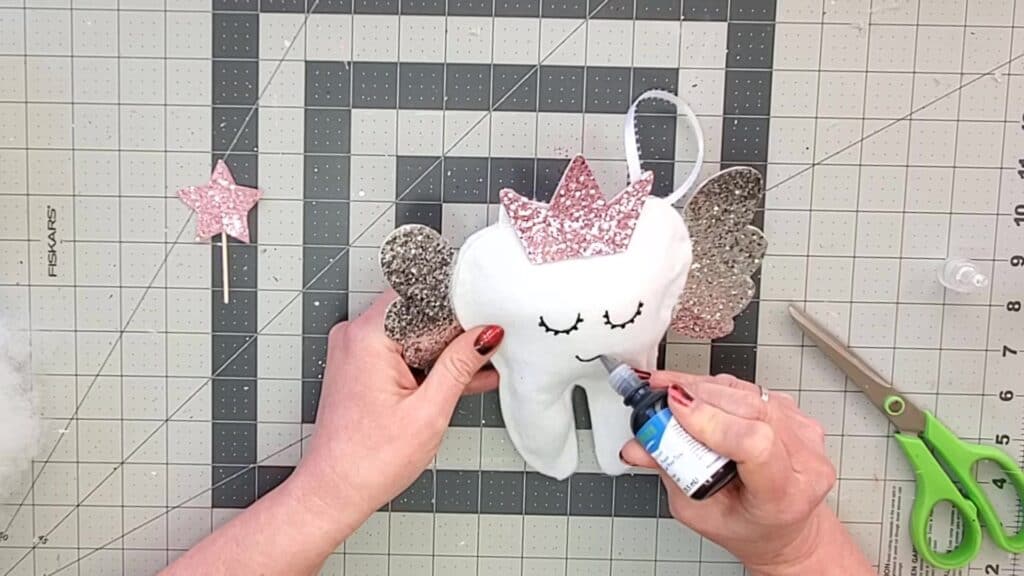
Apply blush to make rosy cheeks.
Use your finger or a brush to add a little pink blush to the cheek area. I only did this one the Tooth Fairy pillow for girls, but you can do it on either one.
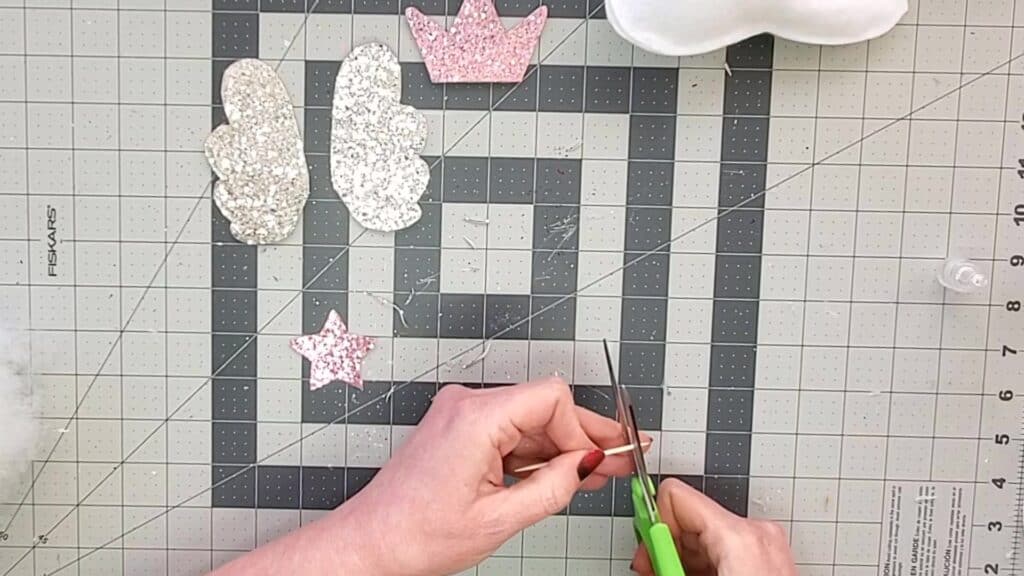
Cut the sharp tips from the toothpick.
Use scissors and cut off the tapered ends of the toothpick.
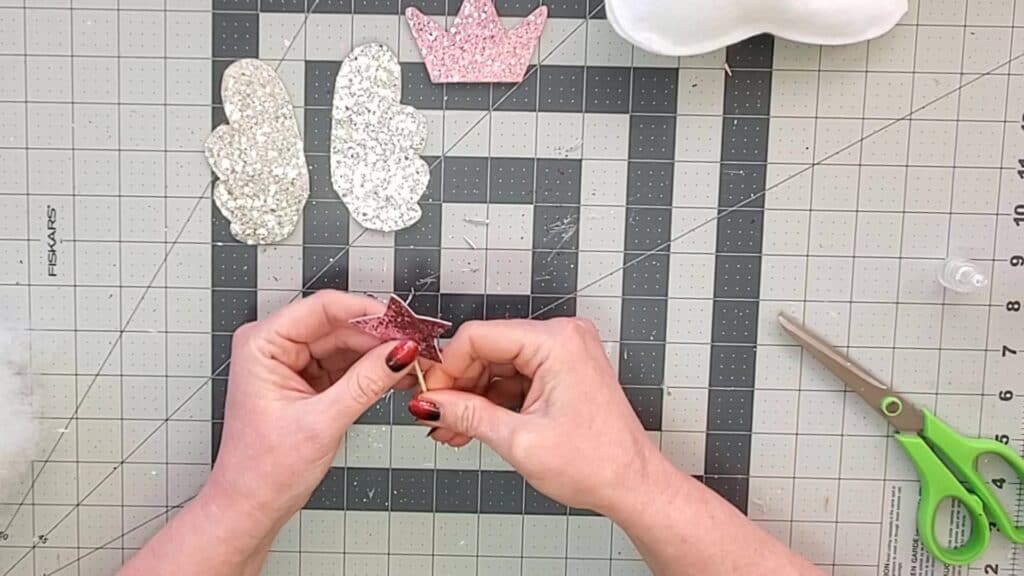
Glue the toothpick onto the back of the star.
Use hot glue to attach the toothpick to the back of the star to make a Tooth Fairy wand.
Glue the wand onto the Tooth Fairy pillow.
Hot glue the wand to the side or wherever you like it.
Allow paint to dry for several hours until completely set.
How long this takes will depend on the temperature in your house, humidity, etc.
Give it at least a few hours to dry or overnight.
GET THE PRINTABLE TOOTH TEMPLATE AND TOOTH FAIRY PILLOW PATTERN HERE
Some Other Tooth Fairy Posts You Might Like:
Free Printable Tooth Fairy Letters