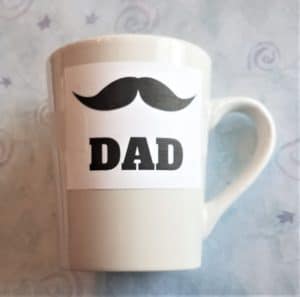
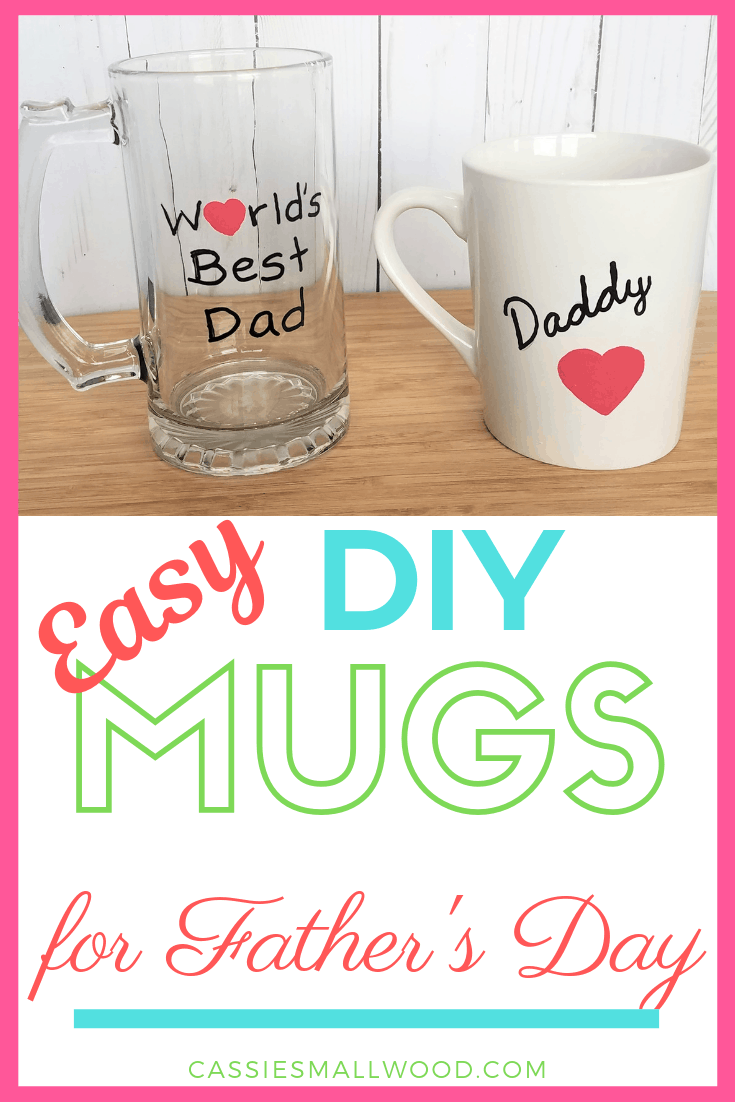
Painted Mugs DIY Father’s Day Craft Idea

This year is just zipping by for me so far and Father’s Day will be here before we know it.
Dads can be so hard to buy for! I’m always at a loss for what to get my dad for Father’s Day, his birthday and Christmas. So I thought I’d show you how to make painted mugs for your dad using this super easy method.
Painted Mugs DIY Father’s Day Craft Idea
I started brainstorming an easy homemade Father’s Day craft for kids to give their dad, but something that adults could have fun making too. I wanted something practical that dads can use so I decided on a cute diy painted mug.
This can be used as a keepsake Father’s Day mug or he can use it every morning when he has his coffee.
You can use my printable DIY dad mug templates, create your own template, or just free hand your design.
How To Design Your Painted Mugs
I made 2 designs with a “dad” saying and 2 with “daddy” sayings so you can use whichever one is appropriate.
These painted mugs are great for kids to make with or without the templates.
This is a great Father’s Day craft idea for teachers to use in the classroom as a gift idea for Christmas.
Even though I’ve included templates for dads, these painted mugs can be made for anyone for any holiday or occasion. Let your creativity run wild.
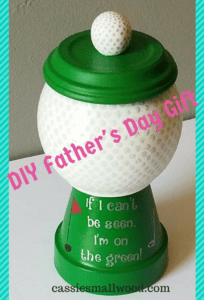
If your dad is a golfer, be sure to check out this DIY golf gift idea. It’s super cute!
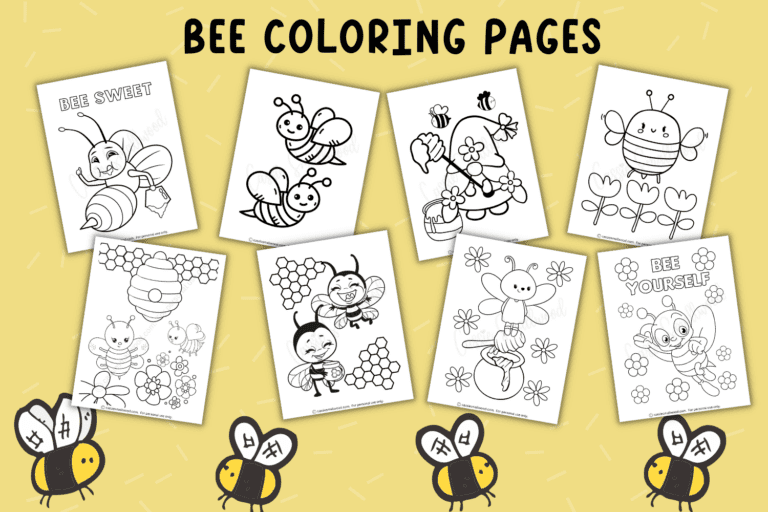
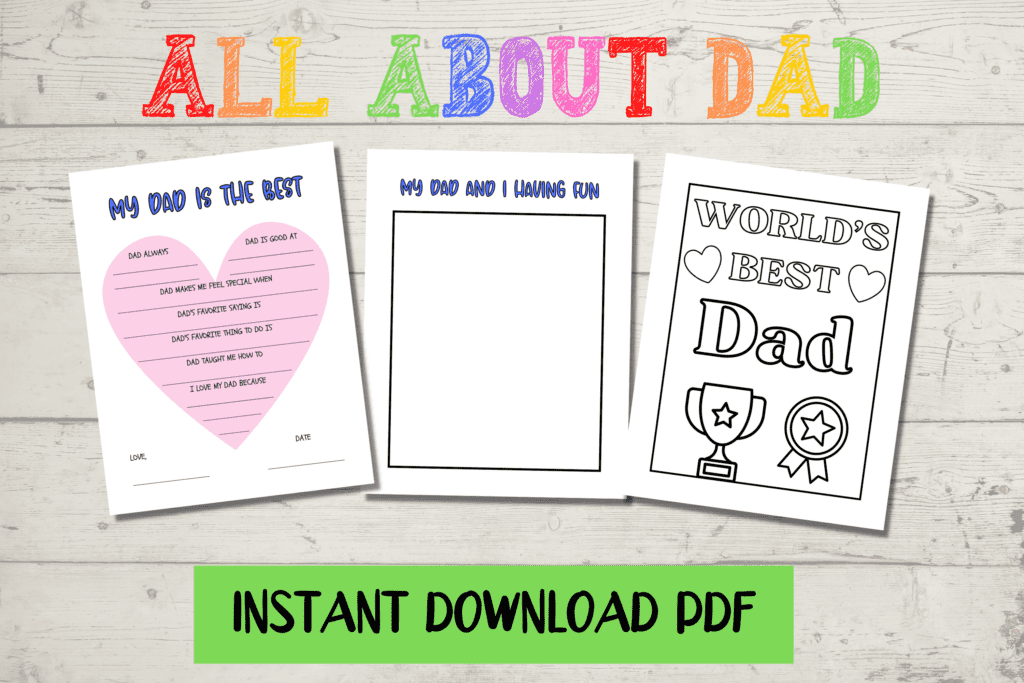
For a cute and easy idea for kids to give to dad, I’ve made these All About Dad printable sets with fill in the blank questions, a picture drawing page and a coloring page. They make the perfect gift for dads.
The Key To Long Lasting Dishwasher Safe DIY Painted Mugs
The key to making this homemade painted Father’s Day mug is to use Oil Based Sharpie Markers![]() or DecoArt Glass Paint Markers
or DecoArt Glass Paint Markers![]() .
.
Using the DecoArt Glass Paint Markers![]() and then baking the mug creates a permanently painted mug that is dishwasher safe.
and then baking the mug creates a permanently painted mug that is dishwasher safe.
If you use the Oil Based Sharpie Markers![]() , you will have a permanently painted mug, but it will need to be hand washed.
, you will have a permanently painted mug, but it will need to be hand washed.
These markers are easy for kids to use to decorate the mug, but you may need to get it primed for them beforehand. You just shake the marker and then press the tip down on a piece of paper a couple of times to release the paint into the tip.
You can also use regular Sharpie markers to make your painted mug, but it most likely won’t last forever. Baking the mug as described below will help it stay, but it will eventually wash off.
Using regular acrylic paint doesn’t work for painting mugs either. I tried painting a mug with acrylic paint and then baking it and the paint came right off 🙁
This post contains affiliate links. See my disclosure here.
Here’s what you’ll need to make a painted mug for your dad:
- Mug (I picked mine up at Dollar Tree)
- Paper
- Pencil
- Oil Based Sharpie Markers
 (for hand wash) or DecoArt Glass Paint Markers
(for dishwasher safe)
- Printable Templates (optional)
- Tape
- Oven
- Rubbing Alcohol
- Scissors
How to make a painted mug Father’s Day craft:
1. Print out the template you want to use for your painted mug and cut a square around it.
Get it as straight as possible so you can line it up on the mug properly.

2. Clean the surface of the mug with rubbing alcohol to prep it for painting.
Try not to touch the area where the design will go after cleaning it as the oils from your hands may cause the paint to not stick as well.
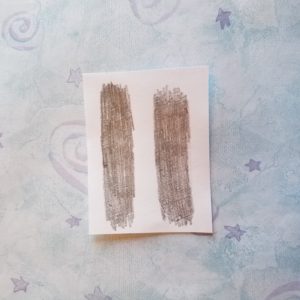
3. Use a pencil to color the back side of the template making sure to cover all areas of the design.
You’ll only need to color over the words and pictures. This will act as a transfer on your mug so you can paint over it.
4. Tape the template onto the mug.
The pencil side will go against the mug. Make sure you have the design centered.
And be sure to put the design on the side that will be facing outward when dad holds the mug. Think about if he’s left handed or right handed.
You can also paint a design on both sides of the mug if you want.
5. Trace over the design with the pencil to transfer the image to your mug.
By tracing over the design it will make a stencil of the design on your mug due to the pencil you colored on the back.
After tracing, remove the paper to reveal your design on your mug.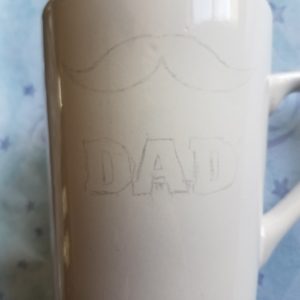
6. Paint over the design on your mug.
Use the paint markers to paint over the traced design on your mug.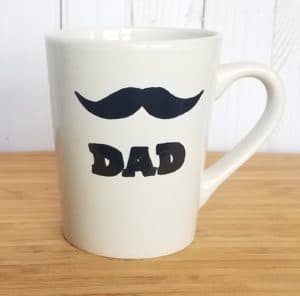
7. Allow the mug to dry.
Let the painted mug dry for 24 hours to be sure the paint is fully dried.
8. Bake your painted mug.
Place the painted mug on a cookie sheet and put in the oven.
Turn the oven on to 350 degrees after you put the mug in. This allows the mug and oven to heat up at the same time and keeps the mug from cracking.
Bake for 20 minutes or as directed for your paint pens.
Turn the oven off and leave the mug in the oven until both are completely cooled to avoid a sudden temperature change causing the mug to break.
Click the picture below or this link to get your free printable dad mug templates.

If you want another easy homemade DIY Father’s Day craft for kids, these printable Father’s Day certificates are the perfect addition to this cute painted mug!
If you want to make a card for Dad, I have 21 free coloring cards for Father’s Day.
Kids can show their love and appreciation for dad with these FATHER’S DAY COLORING PAGES.
Homemade crafts are always the best thoughtful and sentimental gift ideas for Father’s Day or any special occasion.
You can be sure Dad will love his Father’s Day gift this year if you give him this heartfelt handmade painted mug.
I hope this easy homemade Father’s Day mug puts a smile on dad’s face this year.
Other DIY projects you might like:


![St. Patrick’s Day Bingo [FREE PRINTABLE]](https://www.cassiesmallwood.com/wp-content/uploads/2022/02/St.-Patricks-Day-Bingo-1-768x512.png)